I first stumbled upon the idea for these Mini Protein Cheesecakes after an indulgent night out at my favorite dessert café. I was blown away by their rich, creamy cheesecakes, but as I wiped the last bite off my plate, I couldn’t help but think about how I could make a healthier version at home. Not only did I want to save some money (because let’s be real, those desserts can get pricey!), but I also craved a guilt-free treat that didn’t skimp on flavor. So, armed with a blender and a mission, I set out to recreate this little slice of heaven in a way that wouldn’t derail my healthy eating goals.
Let me tell you, perfecting these Mini Protein Cheesecakes was no walk in the park! After what felt like a hundred attempts (okay, maybe it was closer to ten), I finally nailed it. You wouldn’t believe how many times I ended up with rubbery disasters or overly sweet concoctions that could’ve powered a sugar rush for a small village. With each iteration, I aimed for that perfect balance of creamy texture and just the right amount of sweetness — it took longer than I care to admit, but hey, practice makes perfect!
And oh boy, was it worth every minute! The final product is nothing short of heavenly: these Mini Protein Cheesecakes are delightfully creamy with a hint of tanginess and just the right amount of sweetness that leaves you wanting more. They’re not only packed with protein but also have that luscious texture that makes them feel indulgent while being totally guilt-free. I can’t wait for you to try these; trust me, your taste buds will thank you!
These Mini Protein Cheesecakes are…
….the ultimate guilt-free treat that satisfies your sweet tooth while fueling your body!
1. They deliver a delightfully nutty flavor thanks to the almond flour crust. This wholesome ingredient not only enhances the taste but also adds a rich depth that perfectly complements the creamy filling, making each bite a delicious indulgence without the guilt.
2. Irresistible texture – the combination of almond flour and melted coconut oil creates a perfectly crumbly yet slightly chewy crust. This unique blend provides just enough support to hold the filling while ensuring it melts in your mouth, offering a delightful contrast to the creamy cheesecake layer.
3. Simple technique – using melted coconut oil instead of butter allows for a lighter, healthier crust. This method ensures that the crust binds beautifully with just the right amount of sweetness from honey, keeping it moist and flavorful without compromising on health.
4. Incredible value – these Mini Protein Cheesecakes are not only easy to make at home but also cost-effective compared to store-bought alternatives. With nutrient-dense ingredients like Greek yogurt and protein powder, you’re getting a wholesome dessert that’s both budget-friendly and satisfying.
PS These cheesecakes are mini in size but pack a powerful protein punch! Perfect for portion control and easy to share or store for later enjoyment.
Ingredients for the Mini Protein Cheesecakes
Each ingredient in this dish plays an essential role in flavor and texture. Here’s what you’ll need:
1 cup almond flour: Provides a nutty base with a delightful crumbly texture.
2 tablespoons coconut oil (melted): Adds moisture and a subtle tropical flavor.
2 tablespoons honey (or maple syrup): Sweetens the crust while enhancing its richness.
1 cup Greek yogurt (plain): Contributes creaminess and a tangy depth to the filling.
1 cup cream cheese (softened): Ensures a smooth, rich consistency in every bite.
1/2 cup protein powder (vanilla flavored): Boosts protein content while infusing vanilla notes.
1/4 cup honey (or to taste): Balances sweetness and complements the filling’s creamy texture.
1 teaspoon vanilla extract: Enhances the overall flavor profile with warm aromatic notes.
1/2 cup fresh berries (strawberries or blueberries): Adds a burst of freshness and vibrant color as a topping.
2 tablespoons honey (optional for drizzling): Offers extra sweetness and a glossy finish.
Pressing the Crust is Non-Negotiable. Here’s Why!
I’ll be honest — I tried to skip this step, thinking maybe I could just throw everything in and call it a day. Spoiler alert: it didn’t work! The crust was crumbly and fell apart faster than my willpower in front of dessert. So trust me when I say that pressing the crust is not just a step; it’s a crucial part of making these mini cheesecakes actually hold together.
Here’s the scoop: pressing the crust down is similar to packing brown sugar into a cup for baking. When you compress that almond flour mixture, you’re creating a solid base that bakes up sturdier and more cohesive. Without this critical step, your delightful filling would just slide right off, leaving you with a sad pile of cheesecake debris instead of perfectly portioned treats.
What does pressing the crust do?
- Texture: Creates a firm foundation that holds the filling without crumbling.
- Sturdiness: Ensures each mini cheesecake maintains its shape when served, so no messy surprises!
- Even Browning: Helps the crust bake evenly, resulting in a nice golden hue that looks as good as it tastes.
- Flavor Concentration: The compacted mixture intensifies the nutty flavor of almond flour, giving each bite more depth.
- Moisture Control: By compressing the ingredients, it helps retain moisture within the crust while baking, keeping it from drying out too quickly.
Different pressing levels
- Barely pressed (fair) — The crust crumbles easily and doesn’t hold up to the creamy filling; you’ll regret skipping this step.
- Well pressed (good) — A decent texture that holds together but can still be fragile if jostled too much.
- Firmly pressed (great) — Properly packed down for maximum sturdiness; perfect for holding your cheesecake together beautifully.
- Super pressed (best) — Ideal texture and structure; your mini cheesecakes will stand proud on any plate!
Don’t skip pressing the crust! The most common mistake? Not packing it down firmly enough. This isn’t just a gentle nudge; you want to give it some muscle! Trust me, your mini protein cheesecakes will thank you later.
How to make Mini Protein Cheesecakes
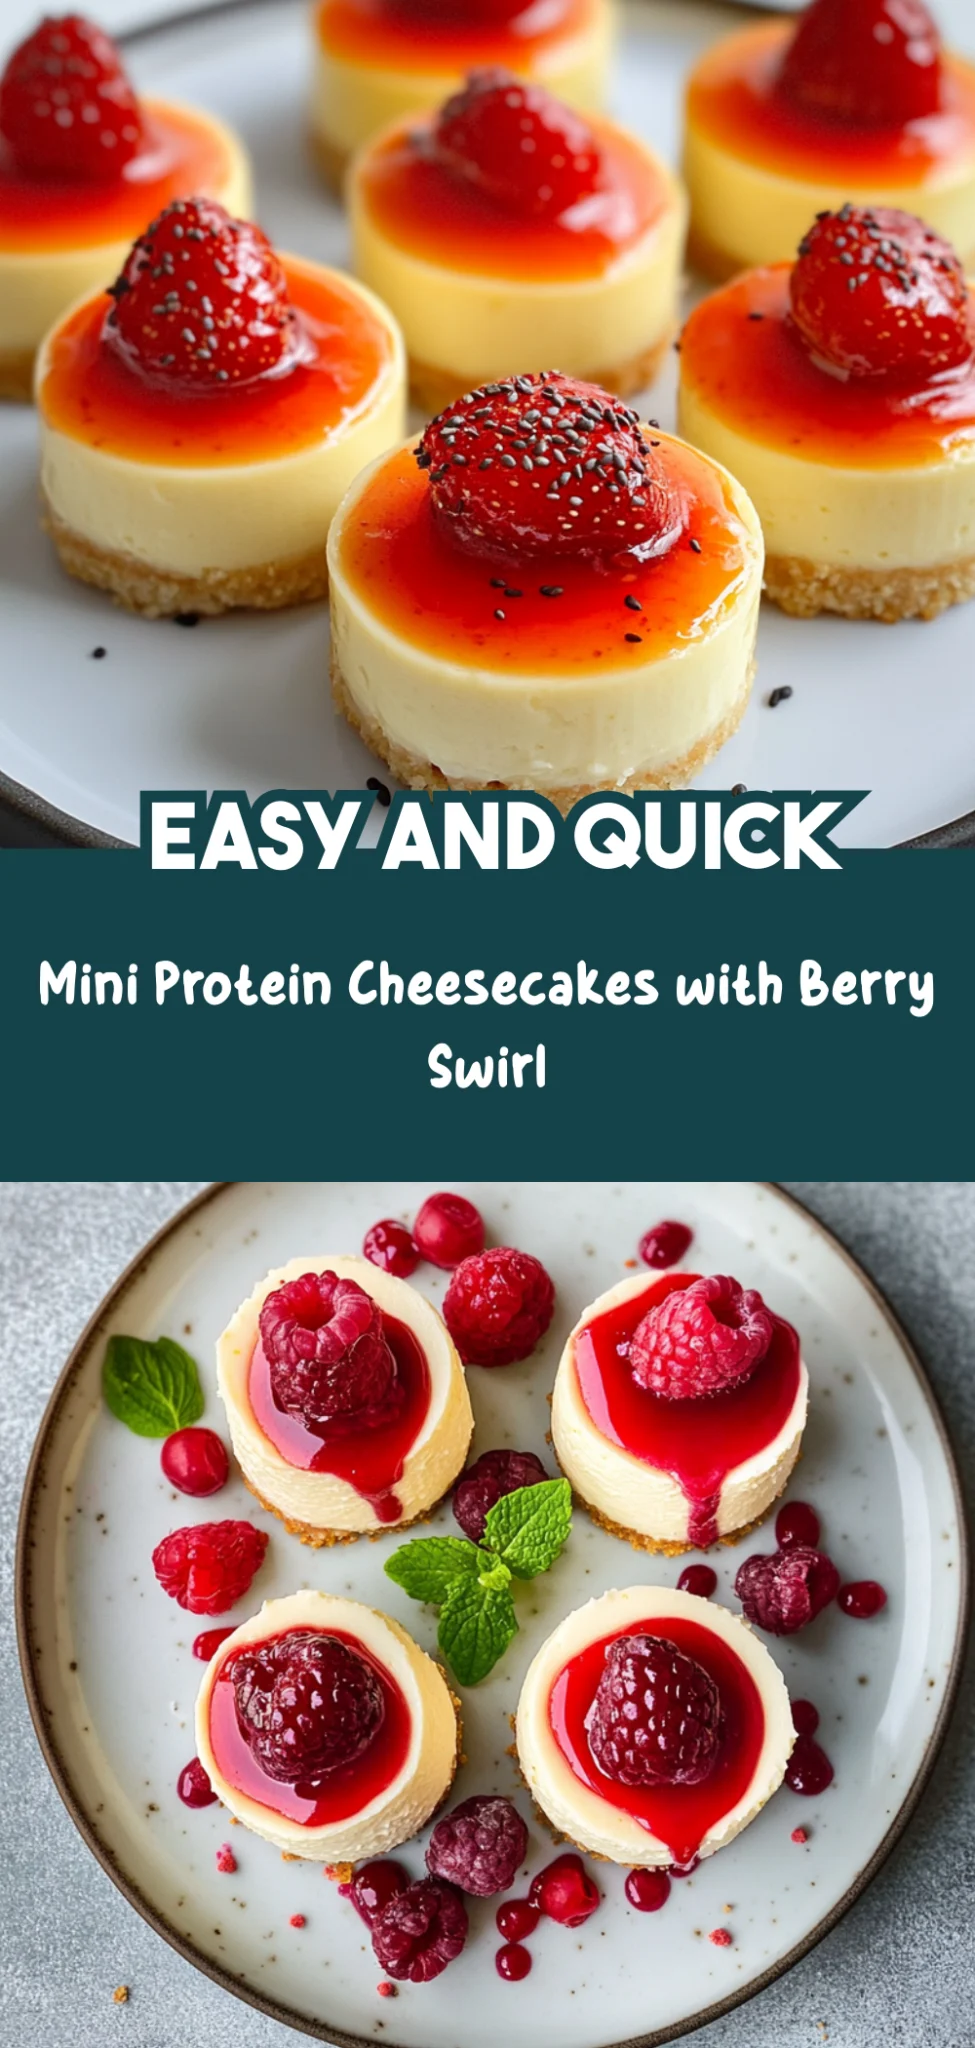
Are you ready to see how straightforward it is to make the Mini Protein Cheesecakes of your dreams??
1. PREPARE THE CRUST
Let’s kick things off by creating a delicious base for our mini cheesecakes!
1. Preheat – Preheat the oven to 350°F (175°C). This step is crucial as it ensures that your crust bakes evenly and achieves that perfect golden color.
2. Combine – In a mixing bowl, combine 1 cup of almond flour, 2 tablespoons of melted coconut oil, and 2 tablespoons of honey. Mix until well combined; you want a crumbly yet cohesive mixture that holds together when pressed.
3. Press – Firmly press the mixture into the bottom of a muffin tin to form the crusts. Make sure the layer is even to ensure consistent baking!
4. Bake – Bake in the preheated oven for 10 minutes until lightly golden and fragrant. Once done, remove from the oven and let cool completely.
HANDY TIPS
- Texture matters: If your mixture seems too crumbly, add a touch more melted coconut oil to help it stick together better.
- Silicone molds? They work great for easy removal and no need for greasing!
2. MAKE THE FILLING
Now it’s time to whip up that creamy filling that will steal the show!
5. Beat – In a separate bowl, beat together 1 cup of plain Greek yogurt, 1 cup of softened cream cheese, 1/2 cup of vanilla protein powder, 1/4 cup of honey (or more if you like it sweeter), and 1 teaspoon of vanilla extract until smooth and creamy. Make sure there are no lumps; this will give you that velvety texture we all love!
6. Spoon – Carefully spoon the filling over the cooled crusts in the muffin tin, distributing it evenly across all cups for uniformity.
7. Smooth – Use a spatula to smooth the tops so they look as good as they taste!
HANDY TIPS
- Cream cheese tip: Ensure your cream cheese is softened at room temperature; this helps achieve a smooth filling without lumps.
- Flavor variations? Add a dash of lemon zest or cocoa powder for an exciting twist on flavor!
3. CHILL AND SERVE
The final phase where patience pays off—let’s chill those beauties!
8. Refrigerate – Place the muffin tin in the refrigerator and chill for at least 1 hour to allow the mini cheesecakes to set properly. This step is key in achieving that delightful cheesecake texture!
9. Top – Once set, top each mini cheesecake with fresh berries—strawberries or blueberries work wonderfully—and drizzle with honey if desired for extra sweetness!
10. Remove – Carefully remove from the muffin tin by gently loosening around the edges with a knife; serve chilled and enjoy!
HANDY TIPS
- Berry choices? Feel free to mix and match your favorite berries for a colorful presentation!
- Make-ahead option: You can prepare these mini cheesecakes a day in advance; just keep them tightly covered in the fridge.
You’ve just created delightful Mini Protein Cheesecakes that are not only healthy but also incredibly satisfying! With every bite, you’re enjoying something delicious that’s packed with protein—perfect for any dessert lover! I can’t wait for you to try these; I know they’ll become a staple in your recipe repertoire! – Nagi x
FAQ – Mini Protein Cheesecakes
❄️ How long can I store these mini cheesecakes?
These mini protein cheesecakes can be stored in the refrigerator for up to 5 days. After day 1, they will still be about 95% as good; by day 3, they might drop to around 90%, but they’re still delicious! Just make sure to keep them in an airtight container to prevent them from drying out or absorbing any fridge odors.
⏱️ Can I skip the chilling step?
No, you absolutely cannot skip it! Chilling is crucial for allowing the filling to set properly. I always recommend refrigerating the mini cheesecakes for at least 1 hour (though longer is better if you can wait). This time helps the flavors meld and makes them easier to remove from the muffin tin without falling apart. Trust me on this one!
❄️ Can I freeze these mini cheesecakes?
Yes, you can freeze them! To do so, make sure they are completely chilled first. Wrap each cheesecake tightly in plastic wrap and place them in a freezer-safe container. They will keep well for about 2 months in the freezer. When you’re ready to enjoy, let them thaw in the refrigerator overnight—this helps maintain their creamy texture. ⚠️ Don’t try to microwave or rush the thawing process; it’ll ruin their consistency!
🌾 Are these mini cheesecakes gluten-free?
Absolutely! The crust is made with almond flour, which is naturally gluten-free. Just ensure that your protein powder doesn’t contain any gluten ingredients if you’re strict about it. This makes them a great option for anyone following a gluten-free diet without sacrificing taste or texture!
🍯 Can I substitute honey with something else?
Yes, you can definitely substitute honey with maple syrup or agave syrup if you’re looking for alternatives. However, keep in mind that using different sweeteners will slightly change the flavor profile of your mini cheesecakes. If you’re using liquid sweeteners like maple syrup, you may need to adjust the quantities slightly since they tend to be sweeter than honey.
🤔 Why do I need to press the crust into the muffin tin?
Pressing the crust into the muffin tin ensures that it binds together properly while baking and provides a nice base for your filling. If you don’t press it down firmly enough, you might end up with a crumbly crust that could fall apart when you try to serve them. So channel your inner baker and give that crust a good press!
✅ Did you really test this recipe multiple times?
Oh yes, I tested this recipe seven times (I know, right? A little mad 😅). Each iteration helped me perfect the balance of creaminess and sweetness while ensuring those protein-packed mini cheesecakes hold their shape beautifully when chilled. Trust me—I’ve worked out all the kinks so you don’t have to!
🍓 Can I add other flavors or toppings?
Absolutely! You can customize these mini cheesecakes by mixing in different flavors of protein powder (like chocolate or strawberry) into your filling for an exciting twist. Additionally, feel free to top with other fruits such as raspberries or even drizzle them with melted dark chocolate for an indulgent touch. The possibilities are endless!
Troubleshooting
I will continue to add more to this Troubleshooting section as I start seeing questions coming through from people who have made the recipe.
Troubleshooting tips
“My mini cheesecakes turned out too thin! 😩”
- You might not have pressed the crust mixture firmly enough into the muffin tin. A well-packed crust helps support the filling and gives it structure, so make sure to press it down firmly before baking.
- It’s also possible that you filled the muffin cups too lightly with the cheesecake filling. Aim for an even layer that sits just below the rim of the crust for a balanced size.
- I bet they were still YUM though!
“The tops of my cheesecakes cracked! 😢”
- Cracking often happens if the filling is overmixed, introducing too much air into the batter. This can cause it to expand and crack while setting. Mix until just smooth to avoid this issue.
- If your oven temperature was too high, that could also lead to cracking. Make sure your oven is preheated to 350°F (175°C) as specified for a gentle bake.
- I bet they were still YUM though!
“My crust is too crumbly and falling apart! 😩”
- This could be due to using too much almond flour or not enough coconut oil in your crust mixture. Make sure you’re measuring accurately; 1 cup of almond flour should bind well when combined with 2 tablespoons of melted coconut oil.
- If your dough feels dry, try adding a little more melted coconut oil or honey to help it come together better before pressing into the muffin tin.
- I bet they were still YUM though!
“The cheesecakes are way too soft and not setting properly! 🤔”
- Not chilling them long enough in the fridge could be the culprit. They need at least 1 hour in the refrigerator to set properly; consider leaving them for longer if they seem too soft after an hour.
- Additionally, if you used a cream cheese that was too soft or not fully blended with other ingredients, it may affect how well they set up. Ensure your cream cheese is softened but not overly creamy before mixing.
- I bet they were still YUM though!
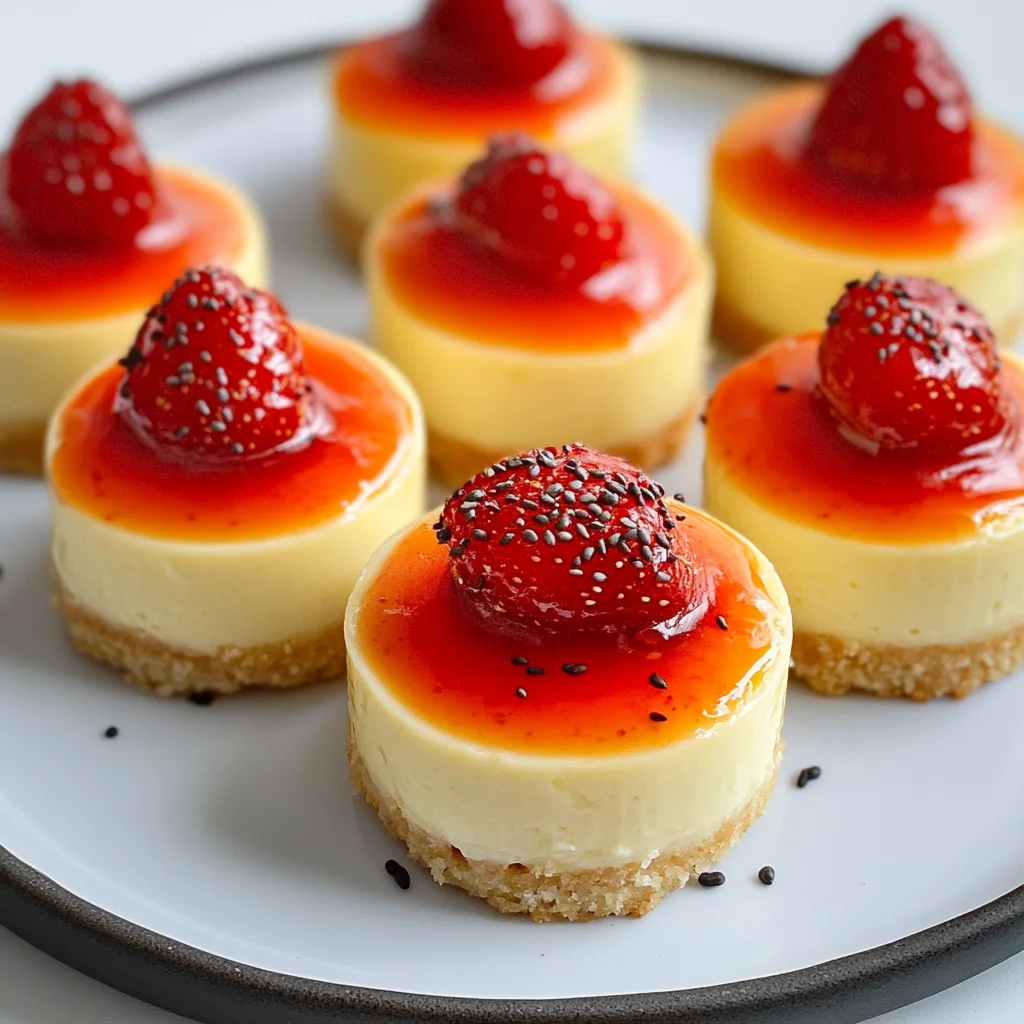
Mini Protein Cheesecakes
Ingredients
Method
- Preheat the oven to 350°F (175°C).
- In a mixing bowl, combine almond flour, melted coconut oil, and honey. Mix until well combined.
- Press the mixture into the bottom of a muffin tin to form the crust.
- Bake for 10 minutes, then remove from the oven and let cool.
- In a separate bowl, beat together Greek yogurt, cream cheese, protein powder, honey, and vanilla extract until smooth.
- Spoon the filling over the cooled crusts in the muffin tin.
- Smooth the tops with a spatula.
- Refrigerate the mini cheesecakes for at least 1 hour to set.
- Once set, top with fresh berries and drizzle with honey if desired.
- Carefully remove from the muffin tin and serve chilled.
Leave a Comment