I first fell in love with pavlova during a charming little dinner at a quaint café, where their signature dessert stole the show. The crisp meringue shells were perfectly airy and light, cradling a swirl of luscious whipped cream and vibrant blackberries that sang of summer. I couldn’t shake the craving for this delightful treat, and after realizing that a trip to the café was more expensive than my usual week’s groceries, I challenged myself to recreate it at home — because let’s be honest, who doesn’t want to impress their friends with a homemade dessert that looks as good as it tastes?
Let me tell you, perfecting my take on Blackberry Pavlovas wasn’t exactly a walk in the park. I lost count after the fifth attempt when my meringue turned out more like chewy marshmallows than the crisp clouds I envisioned. Each iteration taught me something new—whether it was mastering the right sugar-to-egg white ratio or getting that elusive stable peak while whipping, my kitchen turned into a sweet battleground. By the time I finally nailed it, with just enough crackling texture on the outside and pillowy softness within, I felt like I’d conquered Everest!
But oh boy, was it worth every gooey mishap! The final result is nothing short of heavenly: crisp meringue shells that shatter delightfully upon the first bite, crowned with velvety whipped cream and dotted with juicy blackberries bursting with flavor. It’s got that perfect balance of sweetness and tartness, plus an impressive visual appeal that’ll have your guests oohing and ahhing. Trust me, once you try these Blackberry Pavlovas, you’ll find yourself making them over and over again — they’re simply irresistible! So grab those ingredients and let’s get baking!
These Blackberry Pavlovas are….
…a heavenly combination of sweet and tart that will make your taste buds dance!
1. They deliver an exceptional burst of flavor with the perfect balance of sweetness and tanginess from the fresh blackberries. The meringue itself, made with super fine sugar, ensures that every bite is a delightful blend of sugary goodness that complements the tartness of the berries beautifully.
2. Irresistible texture – light and airy on the inside with a crisp outer shell. The key to achieving this contrast lies in whipping the egg whites to stiff peaks and gently folding in cornstarch, which enhances the meringue’s structure and creates that delightful crunch you crave.
3. A simple yet effective technique is using white vinegar in the meringue mix, which helps stabilize the egg whites. This crucial step not only supports the meringue’s lofty height but also prevents it from collapsing, ensuring your Blackberry Pavlovas stay glorious and impressive right until serving.
4. They are an incredibly affordable treat compared to fancy desserts you might find at a café. With just a handful of ingredients—egg whites, sugar, and fresh blackberries—you can whip up a stunning dessert at home without breaking the bank or compromising on quality.
PS These Blackberry Pavlovas yield about 6 individual servings, making them perfect for sharing at gatherings or enjoying as a special treat just for yourself!
Ingredients for the Blackberry Pavlovas
Each ingredient in this dish plays an essential role in flavor and texture. Here’s what you’ll need:
4 large egg whites (at room temperature): Essential for creating a stable meringue with a light, airy texture.
1 cup granulated sugar (superfine sugar preferred): Provides sweetness and helps achieve that perfect crisp exterior.
1 teaspoon white vinegar: Stabilizes the egg whites and adds a hint of tanginess to balance the sweetness.
1 teaspoon cornstarch: Ensures a chewy center within the meringue, adding to its delightful texture.
1 cup heavy cream (chilled): Forms the luscious base for topping, ensuring a rich and creamy finish.
2 tablespoons powdered sugar (to taste): Sweetens the whipped cream while keeping it light and fluffy.
- 2 cups fresh blackberries (plus extra for garnish): Adds vibrant flavor and a burst of juiciness to complement the meringue.
The Meringue Must Be Perfect. No Shortcuts!
I confess, I tried to rush through this step because, let’s be honest, who has the time for a perfect meringue? I thought maybe I could just skip the sugar addition bit by bit or skip the cooling time. Spoiler alert: I was wrong. After several attempts and a few embarrassing failures, I learned that there’s no way around it — the meringue must be treated with care to get that dreamy texture we all crave.
So why is this technique so critical? When you whip up those egg whites, you’re creating a network of tiny air bubbles that expand when heated. Gradually adding the sugar helps stabilize those bubbles, resulting in a glossy, sturdy meringue that won’t collapse into sad little puddles. Think of it like building a strong house; if you rush through laying the foundation (or in this case, adding sugar), your meringue mansion might just crumble!
What does perfect meringue do?
- Texture — Creates a light and airy structure; without proper whipping and sugar incorporation, you risk ending up with a dense mess.
- Stability — The gradual addition of sugar reinforces the egg white structure; otherwise, your meringues can deflate or weep.
- Glossiness — Achieving stiff peaks gives your meringues that shiny finish; skipping steps can lead to dull, lackluster results.
- Crispness — A perfectly baked meringue shell will be beautifully crisp on the outside while staying soft on the inside; too rushed baking can leave them chewy or even soggy.
- Color — Properly whipped and baked meringues develop an appealing light golden color; half-baked efforts can lead to pale, unappetizing results.
Different mixing times
- 2 minutes (poor) — Egg whites start to foam but are nowhere near soft peaks; your meringues will be flat and sad.
- 5 minutes (acceptable) — Soft peaks form but are not stable enough for adding sugar; results may still collapse when baked.
- 8 minutes (good) — Stiff peaks begin to form with some glossiness; could work in a pinch but lacks perfection.
- 10 minutes (excellent) — Glossy, stiff peaks that hold their shape beautifully; this is where magic happens!
Beware: one of the most common mistakes is rushing through the sugar addition. If you dump it all in at once instead of gradually incorporating it, your beautiful meringue could turn into a soupy disaster. Trust me, take it slow!
How to make Blackberry Pavlovas
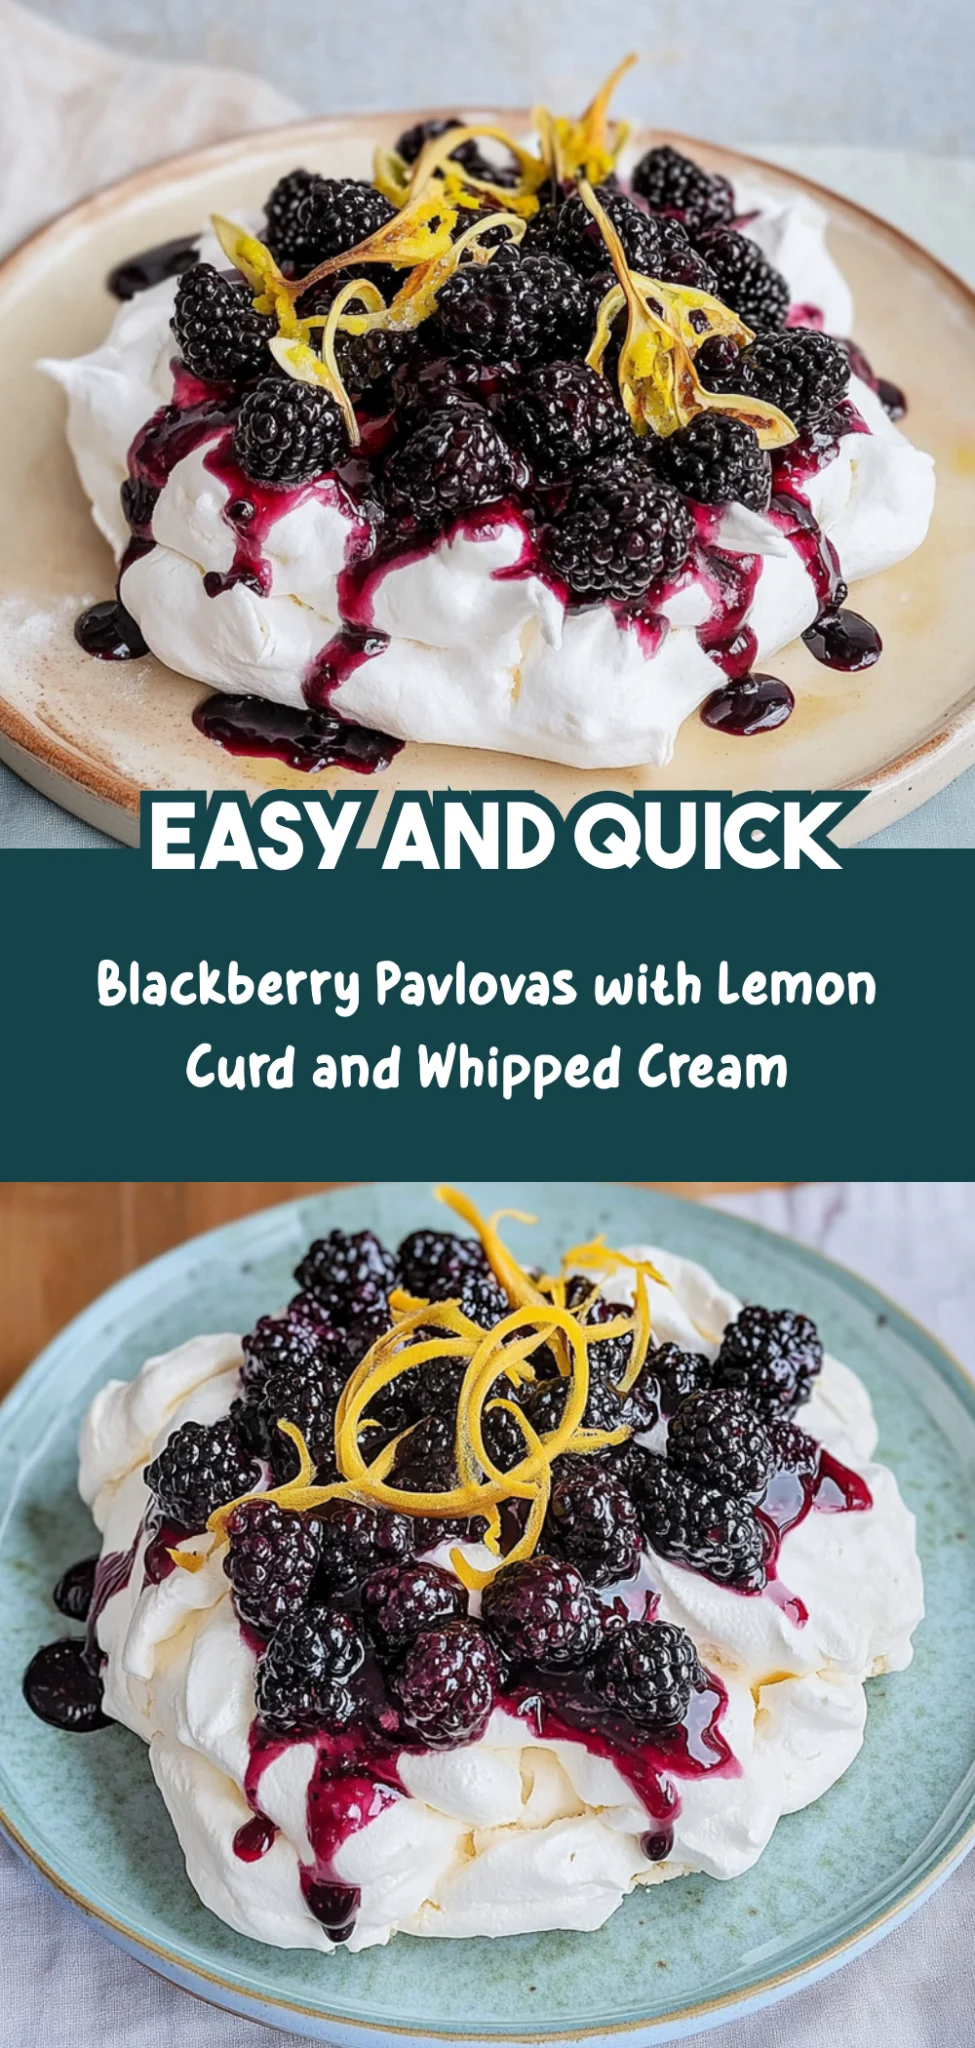
Are you ready to see how straightforward it is to make the Blackberry Pavlovas of your dreams??
1. PREPARE THE MERINGUE
Let’s whip up those delightful meringue nests that will be the stars of your dessert!
1. Preheat – Preheat the oven to 250°F (120°C) and line a baking sheet with parchment paper. This low temperature ensures that the meringues dry out properly, creating that perfect crisp shell.
2. Beat Egg Whites – In a mixing bowl, beat the egg whites with an electric mixer on medium speed until soft peaks form. You want them to look like fluffy clouds, which means they are starting to hold their shape but still droop slightly when you lift the mixer.
3. Add Sugar – Gradually add the granulated sugar, one tablespoon at a time, while continuing to beat until the mixture is glossy and stiff peaks form. This step is crucial as it ensures that your pavlova has enough structure; a glossy finish indicates that you’ve successfully dissolved all the sugar!
4. Fold in Vinegar and Cornstarch – Gently fold in the vinegar and cornstarch using a spatula. The vinegar helps stabilize the meringue, while cornstarch gives it a lovely chewy texture inside—trust me, this combination is key!
5. Spoon onto Baking Sheet – Spoon the meringue mixture onto the prepared baking sheet, forming four nests. Aim for roughly equal sizes so that they bake evenly—no one likes a lopsided pavlova!
6. Bake – Bake for 1.5 hours, then turn off the oven and let the meringues cool completely inside the oven. This gentle cooling process prevents cracking and keeps them nice and light.
HANDY TIPS
- Use room temperature egg whites for better volume; cold egg whites won’t whip up as nicely.
- If you have any leftover meringue mixture after forming nests, feel free to pipe small kisses on another tray—who doesn’t love extra treats?
- Keep an eye on your meringues towards the end of baking; they should be dry to touch but not browning.
2. PREPARE THE TOPPING
Now let’s create a luscious topping that complements our beautiful meringues!
7. Whip Cream – In a clean mixing bowl, whip the chilled heavy cream with powdered sugar until soft peaks form. This fluffy cloud will balance out the sweetness of the meringue beautifully—just stop whipping once you see those soft peaks!
8. Remove Meringues – Once the meringues are cool, carefully remove them from the parchment paper using a spatula or your hands if they’re sturdy enough. Be gentle; we want those beautiful nests intact!
9. Top with Cream and Blackberries – Top each meringue nest with whipped cream and fresh blackberries for that burst of flavor and color! Don’t skimp on those juicy berries—they add both tartness and elegance!
10. Garnish – Garnish with additional blackberries if desired for an extra pop of freshness.
HANDY TIPS
- For even more flavor, consider adding a splash of vanilla extract or lemon zest to your whipped cream!
- If you prefer sweeter toppings, adjust powdered sugar in your whipped cream to taste; start with less and add more if needed.
- Want some crunch? Try adding crushed nuts or granola on top before serving!
What an achievement—delicate meringue nests topped with luxurious whipped cream and fresh blackberries! Each bite is pure bliss, blending textures and flavors seamlessly together—the perfect dessert for any occasion! Make these once, and I wager they will invade your dreams every night too! – Nagi x
FAQ – Blackberry Pavlovas
How long will these pavlovas keep?
The meringue shells can stay fresh for up to 2 days when stored properly. However, I recommend consuming them within 1 day for the best texture and taste. After that, you might notice a decline in quality—around 85% as good on day 2 due to moisture absorption from the whipped cream. If you’re planning to enjoy these over several days, consider storing the meringue shells and toppings separately. Store the meringue in an airtight container at room temperature and the whipped cream in the fridge.
❄️ Do I really have to let the meringues cool in the oven? YES YOU DO.
Yes, letting the meringues cool in the oven is crucial for achieving that perfect crisp shell! This step allows them to gradually lower in temperature without cracking or collapsing. If you remove them too soon, they can become soft and chewy instead of light and airy. I usually leave them in for at least an hour after turning off the oven; this ensures a beautifully stable meringue.
🥶 Can I freeze these pavlovas for later?
Absolutely! The meringue shells freeze wonderfully. Just make sure they are completely cooled before you wrap them tightly in plastic wrap and then place them in a freezer bag. They can be frozen for up to 3 months. To thaw, simply leave them at room temperature for about 30 minutes before serving. However, I don’t recommend freezing the whipped cream or blackberries, as they don’t maintain their texture well after thawing.
🌾 Are there any gluten-free options for this recipe?
Yes! The great news is that this Blackberry Pavlova recipe is already gluten-free! The main ingredients—egg whites, sugar, vinegar, cornstarch, heavy cream, and blackberries—are naturally free from gluten. Just double-check your powdered sugar if you’re using a store-bought variety; some brands may add anti-caking agents that could contain gluten.
Can I reduce the sugar or substitute with sweeteners?
No, you cannot reduce the sugar without compromising the structure of the meringue—I tested this multiple times! The sugar not only sweetens but also stabilizes the egg whites to create those lovely stiff peaks. As for sweeteners, I wouldn’t recommend substitutes like stevia or honey since they behave very differently during baking and can lead to failed meringues. Stick with granulated sugar for reliable results!
Why do I need to use white vinegar and cornstarch in the meringue?
White vinegar helps stabilize egg whites by adding acid, which aids in achieving those beautiful stiff peaks essential for a great pavlova. Cornstarch acts as a thickening agent that contributes to a soft interior while maintaining that crispy exterior we all love! I’ve tested making pavlovas without either ingredient, and trust me—this combination is what makes this dessert truly shine!
Can I add other fruits or flavors to my pavlovas?
Definitely! While blackberries are deliciously tart and complement the sweetness perfectly, feel free to get creative! You could substitute with other berries like raspberries or strawberries, or even tropical fruits like mango or kiwi. For added flavor, consider folding a teaspoon of vanilla extract into your whipped cream or drizzling some chocolate sauce over top before serving. Don’t be afraid to mix it up—just remember: whatever fruit you choose should be fresh for optimal taste!
How many servings does this recipe yield?
This recipe yields 4 individual pavlova nests, making it perfect for a small gathering or an intimate dinner party. If you’re expecting more guests (or just want leftovers!), feel free to double the recipe! Just ensure you have enough space on your baking sheet since each nest requires its own little spot to bake beautifully without crowding each other.
Troubleshooting
I will continue to add more to this Troubleshooting section as I start seeing questions coming through from people who have made the recipe.
Troubleshooting tips
“My meringue nests came out flat! 😩”
- Your egg whites may not have been whipped enough to form stiff peaks, which is essential for a good structure. Make sure to beat them until they are glossy and hold their shape firmly.
- If you added the sugar too quickly while beating, it can weigh down the egg whites, preventing them from achieving that lofty volume. Remember to add it gradually!
- I bet they were still YUM though!
“My meringues cracked on top! 😱”
- Cracking often occurs when the oven temperature is too high; 250°F (120°C) is crucial for slow drying. If your meringues are cracking, check your oven’s actual temperature with an oven thermometer.
- If you opened the oven door during baking, that sudden change in temperature can also cause cracks. Try to resist peeking until the time is up!
- I bet they were still YUM though!
“The texture of my meringue is chewy instead of crispy! 🤔”
- This could be due to underbaking; make sure you let them bake for the full 1.5 hours and cool completely in the oven afterward. This drying process is key for that perfect texture.
- Not using superfine sugar can also lead to a chewy texture because granulated sugar might not dissolve fully, leaving a grainy feel. Use superfine sugar next time for best results!
- I bet they were still YUM though!
“My meringue is sticky and hasn’t held its shape! 🤦♀️”
- If your egg whites weren’t at room temperature, it could affect how well they whip up and stabilize during baking. Always let them sit out for about 30 minutes before whipping.
- Also, if you didn’t fold in the vinegar and cornstarch gently, this can disrupt the airiness needed for good structure. Be gentle while mixing these in!
- I bet they were still YUM though!
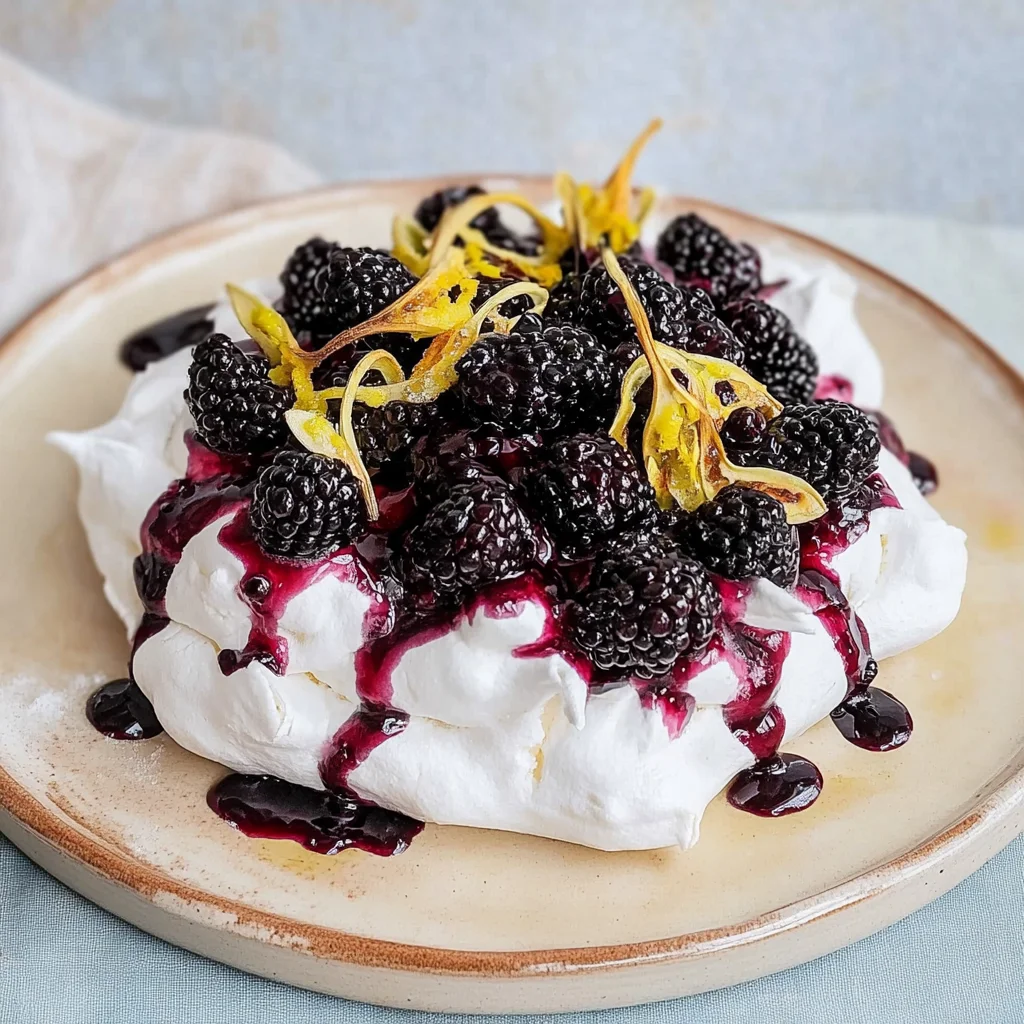
Blackberry Pavlovas
Ingredients
Method
- Preheat the oven to 250°F (120°C). Line a baking sheet with parchment paper.
- In a mixing bowl, beat the egg whites with an electric mixer on medium speed until soft peaks form.
- Gradually add the granulated sugar, one tablespoon at a time, while continuing to beat until the mixture is glossy and stiff peaks form.
- Gently fold in the vinegar and cornstarch.
- Spoon the meringue mixture onto the prepared baking sheet, forming four nests.
- Bake for 1.5 hours, then turn off the oven and let the meringues cool completely inside the oven.
- In a clean mixing bowl, whip the chilled heavy cream with powdered sugar until soft peaks form.
- Once the meringues are cool, carefully remove them from the parchment paper.
- Top each meringue nest with whipped cream and fresh blackberries.
- Garnish with additional blackberries if desired.
Leave a Comment