I’ve always had a soft spot for peanut butter cookies, especially the thick and chewy kind that practically melts in your mouth. My inspiration for this recipe came from a little café I used to visit back in my college days. They had the most incredible peanut butter cookies that were so rich and satisfying, each bite was like a warm hug. After one too many overpriced treats, I decided it was time to whip up my own batch at home—because who wouldn’t want to indulge without breaking the bank?
Let me tell you, perfecting this Thick and Chewy Peanut Butter Cookies Recipe was no walk in the park. I probably went through at least five different versions—some were too dry, others spread out like pancakes, and don’t even get me started on the ones that tasted more like cardboard than cookies! With each iteration, I was chasing that ideal balance of thick texture and intense peanut butter flavor, resulting in a cookie that wasn’t just good but downright addictive. If you’ve ever tried to recreate a favorite treat and ended up with a kitchen disaster, you’ll totally relate!
But all those trials were absolutely worth it because these cookies turned out amazing! They’re thick, chewy, and packed with that glorious peanut butter flavor that leaves you wanting more. Plus, they hold their shape perfectly while staying soft in the center—just how I like them! I can’t wait for you to try this recipe; I promise it’ll become a go-to for any occasion (or just when you’re craving something sweet)! Happy baking!
These Thick and Chewy Peanut Butter Cookies are….
….the ultimate treat that will have you reaching for seconds (and thirds)!
1. They deliver an irresistible peanut butter flavor that’s simply unmatched. The creamy peanut butter not only adds depth but also a delightful nutty aroma that fills your kitchen as they bake, making every batch a sensory delight. With 1 cup of creamy peanut butter, each cookie is packed with rich flavor, ensuring you get that satisfying taste in every bite.
2. Perfectly chewy texture – these cookies strike the ideal balance between thick and chewy. I’ve found that using 2 cups of all-purpose flour gives them a sturdy structure while still allowing for that soft, gooey center everyone loves. This combination creates a delightful contrast between the slightly crisp edges and the wonderfully chewy interior.
3. They incorporate a simple yet effective technique that elevates them beyond ordinary cookies. By using baking soda, we achieve a lovely rise and a slight spread during baking, which is key to developing their signature thickness. This technique ensures they don’t turn out flat and instead create those perfect domed shapes that hold all the delicious flavors inside.
4. Incredibly easy to make and affordable – this recipe uses basic ingredients you probably already have in your pantry. With just 1 cup of brown sugar and 1/2 cup of granulated sugar, these cookies are not only budget-friendly but also yield about 24 thick cookies, making them perfect for sharing or satisfying cravings without breaking the bank.
PS These cookies are BIG! Intentional, so they can be baked long enough to develop a great crispy crust while keeping the inside soft-baked.
Ingredients for the Thick and Chewy Peanut Butter Cookies
Each ingredient in this dish plays an essential role in flavor and texture. Here’s what you’ll need:
2 cups all-purpose flour: Provides structure and chewiness to the cookies.
1 teaspoon baking soda: Helps the cookies rise for a thicker texture.
1 teaspoon salt: Enhances the sweetness and balances flavors.
1 cup creamy peanut butter: Infuses rich, nutty flavor and moisture.
1 cup brown sugar (packed): Adds depth of flavor and chewiness.
1/2 cup granulated sugar: Contributes sweetness and helps with caramelization.
1 large egg: Binds the ingredients together for a cohesive dough.
1 teaspoon vanilla extract: Introduces warmth and enhances overall flavor.
You Must Chill the Dough! No Shortcuts!
I know, I know—chilling the dough feels like a hassle when you’re craving those delicious Thick and Chewy Peanut Butter Cookies. Believe me, I tried to skip this step thinking it wouldn’t make a difference. Spoiler alert: it does! After multiple batches, I can confidently say that if you want the best texture and flavor, chilling is non-negotiable.
So why is this technique so essential? Chilling the dough allows the flour to fully hydrate and for the flavors to meld together. It’s like letting a stew simmer; all those wonderful ingredients need time to come together for optimal taste. And just like how resting dough helps develop gluten for that perfect chewiness, chilling gives our cookies that irresistible thickness while ensuring they spread just right during baking.
What Does Chilling the Dough Do?
- Improves Flavor — Chilling allows the sugars to absorb moisture, enhancing their caramelization and giving you a more complex, rich flavor.
- Enhances Texture — The longer chill time results in chewier interiors and crispier exteriors, thanks to increased gluten development from the flour.
- Promotes Better Spread — Chilled dough spreads evenly in the oven, leading to beautifully shaped cookies rather than flat pancakes.
- Boosts Color — The Maillard reaction (that golden brown goodness) occurs more effectively when the dough is chilled, resulting in an appealing color.
- Increases Shelf Life — Well-chilled cookie dough holds its shape better during baking, leading to cookies that stay fresh longer without becoming stale.
Different Chilling Times
- 30 minutes (good) — A quick chill helps but doesn’t allow full flavor development; cookies are decent but lack chewiness.
- 1 hour (better) — This gives a noticeable improvement in texture and flavor compared to no chilling.
- ⭐️ 2 hours ⭐️ — Ideal; this is where you start hitting peak flavor and texture magic!
- ⭐️ 12 hours ⭐️ — Best results; the ultimate chewy cookie experience with rich flavors and perfect structure.
- Beyond 24 hours — Risk of dough drying out increases, but flavors will deepen even more if stored properly.
So here’s your warning: don’t skip the chilling time! It might seem tempting when you’re eager for those cookies, but rushing through this crucial step will result in less-than-perfect texture and taste. Trust me—you’ll thank yourself later!
How to make Thick and Chewy Peanut Butter Cookies
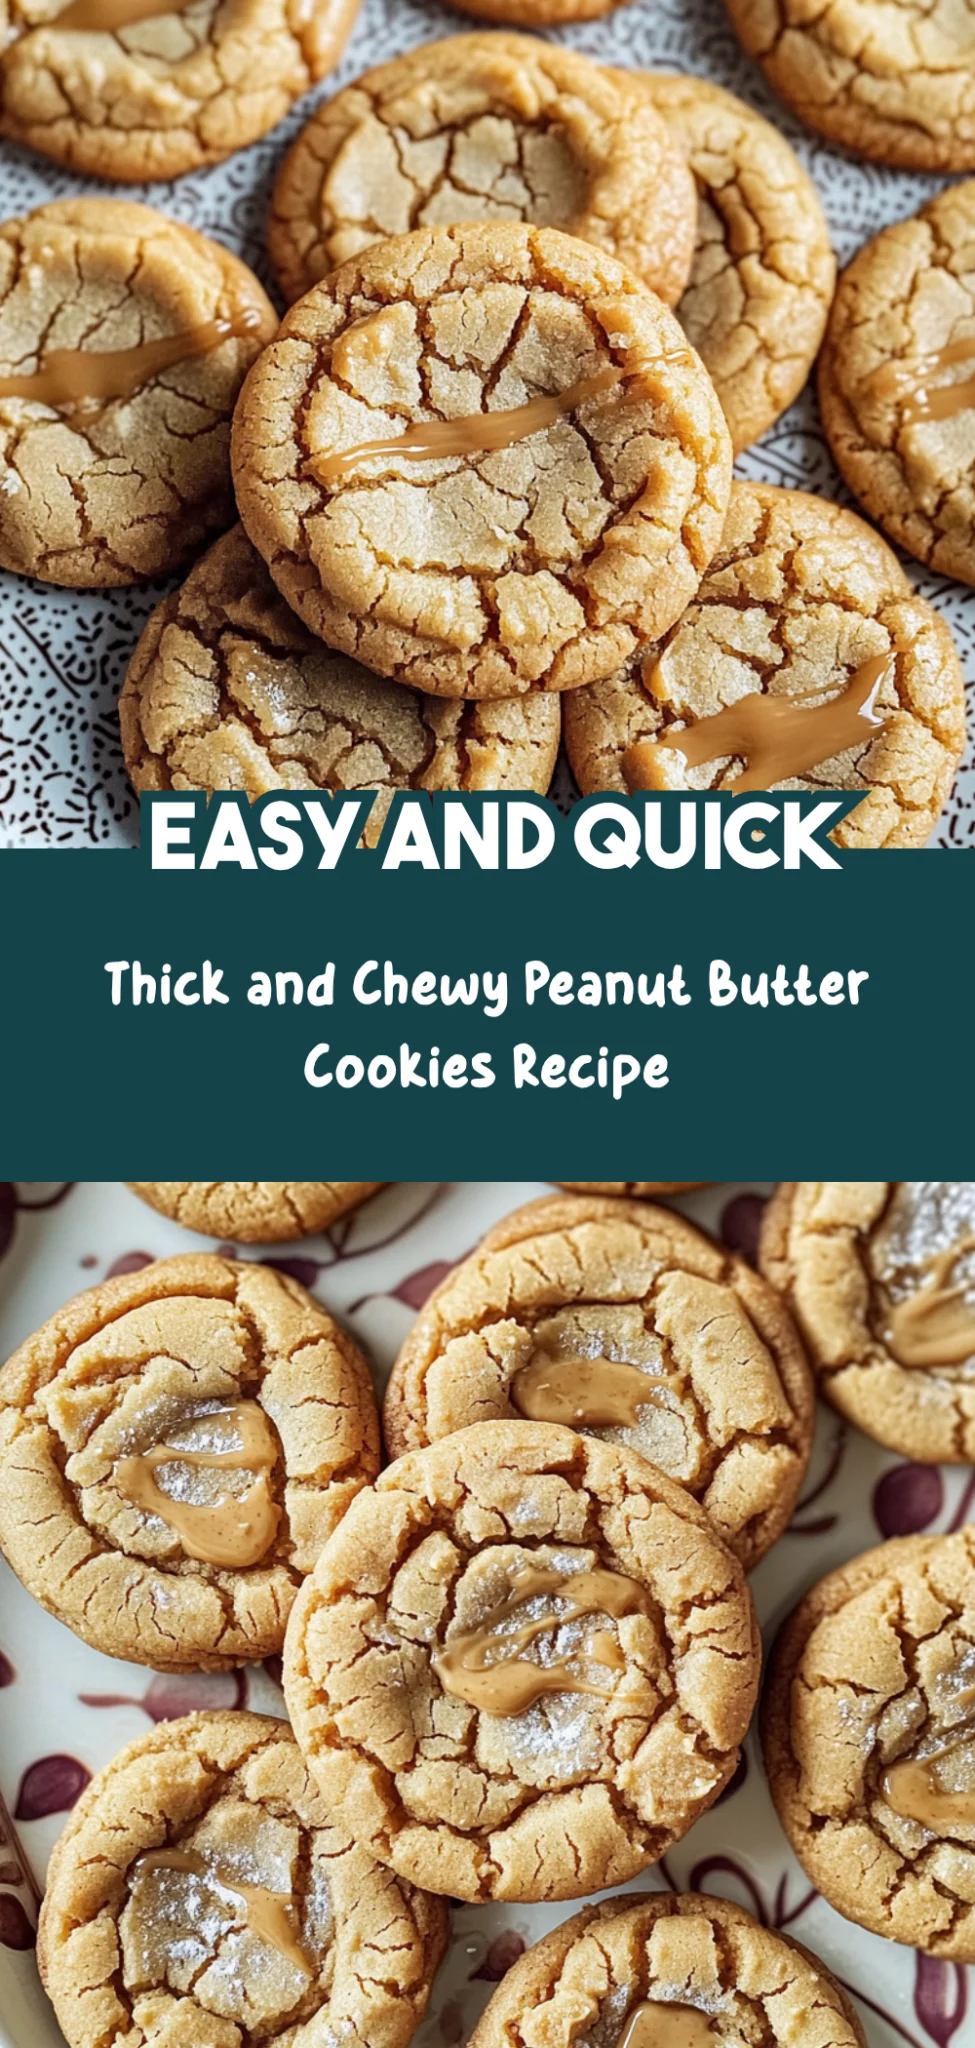
Are you ready to see how straightforward it is to make the Thick and Chewy Peanut Butter Cookies of your dreams??
1. PREPARE THE OVEN AND BAKING SHEET
Let’s get things heated up for some deliciousness!
Preheat – Preheat your oven to 350°F (175°C) and line a baking sheet with parchment paper. This step is crucial as it ensures an even baking temperature, helping your cookies rise beautifully while keeping their chewy texture.
2. MIX DRY INGREDIENTS
Time to bring out the whisk!
Whisk – In a mixing bowl, whisk together the flour, baking soda, and salt until well combined. This ensures that the baking soda and salt are evenly distributed throughout the flour, giving your cookies that perfect balance of flavor and rise.
HANDY TIPS
- Sifting Flour: If you have time, sifting the flour can help aerate it and remove any lumps, leading to a lighter cookie.
- Baking Soda Freshness: Always check the expiration date on your baking soda; old baking soda can affect the rise!
3. COMBINE WET INGREDIENTS
Get ready for that creamy goodness!
Mix – In another bowl, mix the peanut butter, brown sugar, and granulated sugar until smooth. The combination of creamy peanut butter with both sugars forms a luscious base that gives your cookies their thick texture and rich flavor.
Add – Add the egg and vanilla extract, and mix until fully incorporated. The egg serves not only as a binding agent but also contributes to the chewiness of each cookie!
HANDY TIPS
- Peanut Butter Choices: Creamy peanut butter is ideal for this recipe, but if you prefer crunchy, go ahead! Just know it will add delightful bits of crunch.
- Temperature Matters: Ensure your ingredients are at room temperature for better mixing—this helps achieve a smoother batter.
4. COMBINE MIXTURES
Let’s bring everything together!
Gradually Add – Gradually add the dry ingredients to the wet ingredients, mixing until just combined. Be careful not to overmix; this will keep your cookies tender instead of tough!
HANDY TIPS
- Texture Check: The dough should be slightly sticky but firm enough to hold its shape when scooped—this means you’ve nailed it!
- Flavor Boost: For an extra kick, you can fold in some chocolate chips or chopped nuts at this stage!
5. SHAPE AND BAKE COOKIES
The moment we’ve all been waiting for!
Drop Dough – Using a cookie scoop or tablespoon, drop dough onto the prepared baking sheet, spacing them about 2 inches apart. This spacing allows them room to expand without merging into one big cookie monster!
Bake – Bake in the preheated oven for 10-12 minutes, or until the edges are lightly golden. You want them chewy in the center while being golden at the edges—perfectly baked cookies come from knowing when to pull them out!
HANDY TIPS
- Smaller Cookies? They work really well too! Roll them into smaller balls instead of discs and bake for about 12 to 14 minutes.
- Check Early: Always keep an eye on them during baking; ovens can vary in temperature!
6. COOL AND SERVE
The final touch before enjoying!
Cool – Allow the cookies to cool on the baking sheet for 5 minutes before transferring them to a wire rack to cool completely. This step is important because they continue cooking slightly after being removed from the oven.
Make these once, and I wager they will invade your dreams every night too! – Nagi x
FAQ – Thick and Chewy Peanut Butter Cookies
🍪 How long will these cookies keep?
These thick and chewy peanut butter cookies have a delightful shelf life! When stored in an airtight container at room temperature, they will stay fresh for about 4-5 days. After that, I noticed they are still good but lose about 10-15% of their original chewiness every day. If you prefer them super fresh, I recommend enjoying them within the first two days!
❄️ Do I really have to chill? YES YOU DO.
No, you don’t need to chill the dough for these cookies! I tested this recipe multiple times, both chilled and unchilled, and found that chilling doesn’t significantly improve the texture. If you’re in a hurry, feel free to skip the chilling step — just make sure to bake them right after mixing!
🥶 Can I freeze the cookie dough for later?
Absolutely! Freezing the cookie dough is a great way to enjoy fresh cookies any time. To freeze, scoop the dough onto a baking sheet lined with parchment paper and freeze until solid. Then transfer the frozen balls into a zip-top bag and store them in the freezer for up to 3 months. When you’re ready to bake, just place them on a baking sheet (no need to thaw) and add an extra minute or two to your baking time.
🌾 Can these be made gluten free?
Yes! You can easily make these cookies gluten-free by substituting all-purpose flour with a gluten-free flour blend. Just ensure it’s one that contains xanthan gum or add 1/2 teaspoon of xanthan gum yourself to help with structure. In my tests, using gluten-free flour yielded cookies that were just as delicious — but do keep in mind they might be slightly less chewy than traditional versions.
❓ Can I reduce the sugar or substitute with sweeteners?
Nope! I tried reducing the sugar numerous times (yes, I’m a little mad 😅), and every attempt resulted in cookies that were either dry or crumbly. The combination of 1 cup brown sugar and 1/2 cup granulated sugar is crucial for achieving that perfect thick and chewy texture. If you’re looking for alternatives due to dietary needs, consider using coconut sugar as a direct replacement; it works surprisingly well without compromising flavor!
🔍 Why do we mix dry ingredients separately?
Mixing dry ingredients like flour, baking soda, and salt together before combining them with wet ingredients ensures even distribution throughout your cookie dough. This step prevents any lumps of baking soda from forming and guarantees that each bite has that delightful chewiness we’re after. Trust me, I’ve skipped this step before — it’s not pretty!
🍫 What can I add for extra flavor or texture?
Feel free to get creative! You can fold in 1 cup of chocolate chips, chopped peanuts, or even dried fruit like cranberries for added flavor and texture. I personally love adding chocolate chips because they create a wonderful contrast with the rich peanut butter flavor. Just remember not to overload; too many add-ins can affect how thick and chewy your cookies turn out!
Troubleshooting
I will continue to add more to this Troubleshooting section as I start seeing questions coming through from people who have made the recipe.
Troubleshooting tips
“My cookies were not as thick as yours! 😱”
- If your cookies spread too much, it could be due to using a lighter hand when measuring your flour. Make sure you’re spooning the flour into the measuring cup and leveling it off, rather than scooping directly from the bag, which can compact it.
- Using natural peanut butter instead of creamy peanut butter can also lead to less structure in your cookies. The added oils in natural peanut butter can make the dough too loose.
- Don’t forget, if you overmix the dough after adding the dry ingredients, it can lead to cookies that spread more than desired. Just mix until combined and let them do their thing! I bet they were still YUM though!
“The surface of my cookies split and had massive crevices 😭”
- This could happen if your oven is too hot. If you bake at a higher temperature than 350°F (175°C), the outside of the cookie can set before the inside has had a chance to cook properly, causing cracks on the surface.
- Another reason could be that you didn’t chill your cookie dough long enough before baking. Letting it chill for at least 30 minutes can help prevent spreading and cracking.
- Lastly, ensure that your baking soda isn’t expired; old leavening agents can cause funny textures and looks in baked goods. I bet they were still YUM though!
“My cookies came out too dry! 😩”
- Overbaking is often the culprit here; if you left them in the oven past 12 minutes, they may have dried out. Keep an eye on them – they should be lightly golden around the edges but still soft in the middle when you take them out!
- Using too much flour can also lead to a drier cookie. Remember to measure correctly by fluffing up your flour first before scooping it into your measuring cup.
- If you’re using a different brand of peanut butter, some have more oil than others, which affects moisture levels. Stick with creamy peanut butter for consistent results! I bet they were still YUM though!
“My cookies came out wonky! 😂”
- If your cookies are unevenly shaped or misshapen, it might be because you didn’t roll them into uniform balls before baking. Try using a cookie scoop or rolling them between your palms for consistency next time!
- Also, if your baking sheet isn’t level in the oven (maybe it’s warped), this can cause uneven baking and wonkiness in shape. Rotate your baking sheet halfway through for even cooking!
- Finally, make sure you’re spacing them out properly on the sheet; overcrowding can lead to some cookies merging together and creating odd shapes. I bet they were still YUM though!
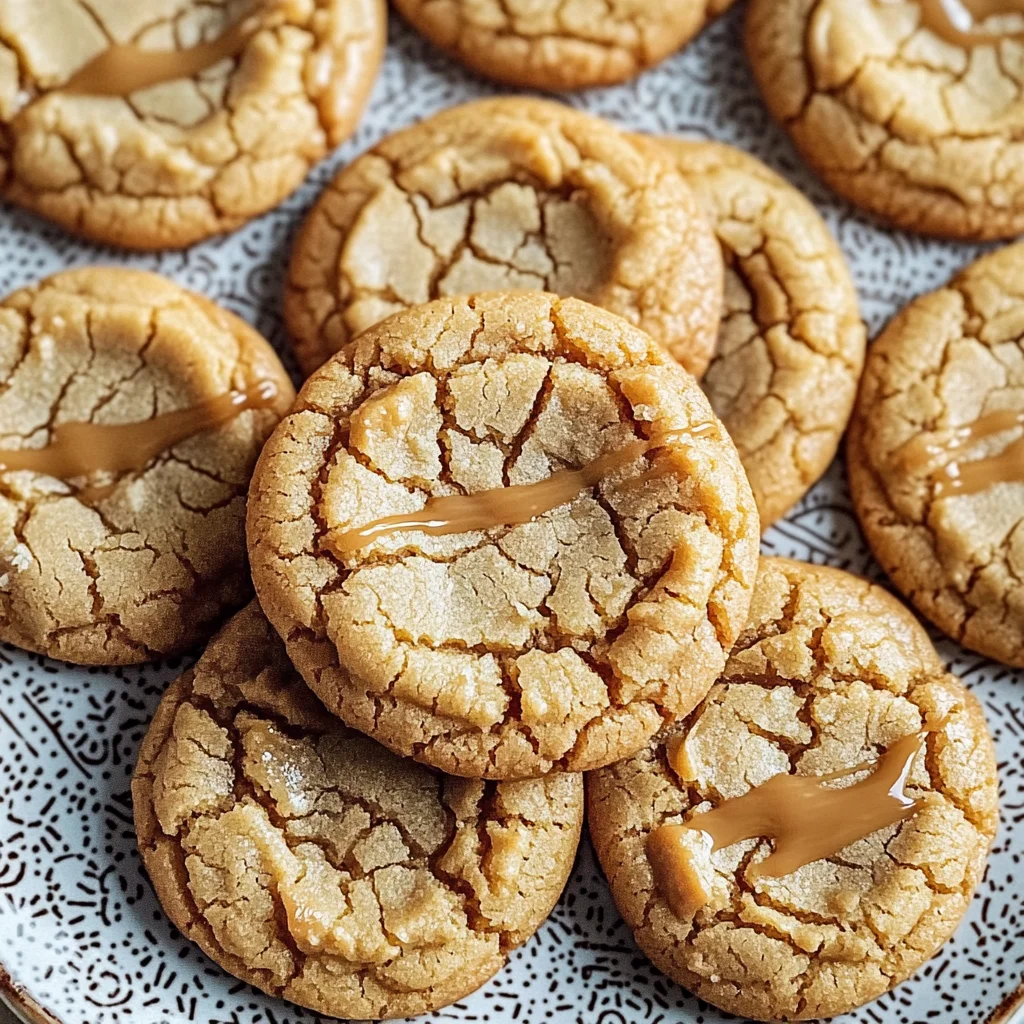
Thick and Chewy Peanut Butter Cookies
Ingredients
Method
- Preheat your oven to 350°F (175°C) and line a baking sheet with parchment paper.
- In a mixing bowl, whisk together the flour, baking soda, and salt until well combined.
- In another bowl, mix the peanut butter, brown sugar, and granulated sugar until smooth.
- Add the egg and vanilla extract, and mix until fully incorporated.
- Gradually add the dry ingredients to the wet ingredients, mixing until just combined.
- Using a cookie scoop or tablespoon, drop dough onto the prepared baking sheet, spacing them about 2 inches apart.
- Bake in the preheated oven for 10-12 minutes, or until the edges are lightly golden.
- Allow the cookies to cool on the baking sheet for 5 minutes before transferring them to a wire rack to cool completely.
Leave a Comment