These No-Bake Pumpkin Pie Balls are a delightful way to transform any leftover Thanksgiving pie into something truly special. Imagine the familiar, comforting flavors of pumpkin pie wrapped up in a bite-sized treat that you can pop in your mouth. Whether you’re looking for a sweet snack during cozy movie nights or a creative dessert for holiday gatherings, these little bites of joy are sure to impress everyone!
I love this recipe because it’s not only easy to make but also incredibly versatile. You can whip these up in no time and enjoy them all season long. Plus, they’re perfect for sharing with family and friends, making them an ideal addition to any festive occasion.
Why You’ll Love This Recipe
– Simple and quick: These No-Bake Pumpkin Pie Balls come together in just 45 minutes, making dessert a breeze.
– Perfect for leftovers: Transform leftover pumpkin pie into something new and exciting instead of letting it go to waste.
– Kid-friendly fun: Rolling the balls is a great activity to do with kids, getting them involved in the kitchen.
– Customizable toppings: Feel free to get creative with how you top your pie balls; there’s no wrong way!
– Great for sharing: Make a big batch and bring them to parties or gatherings; they’re always a hit!
Ingredients You’ll Need
Gathering the right ingredients is key in making these delicious No-Bake Pumpkin Pie Balls. Here’s what you’ll need:
For the Pumpkin Pie Balls
– 1 (9-inch) baked and chilled pumpkin pie, store-bought is great!
– 1 (16 ounce) package vanilla candy coating or almond bark
Variations
The beauty of No-Bake Pumpkin Pie Balls is their versatility! You can easily adapt the recipe to suit your taste preferences or what you have on hand.
– Swap the candy coating: Use dark chocolate or white chocolate instead of vanilla candy coating for different flavor profiles.
– Add spices: Mix in some cinnamon or nutmeg for an extra kick of fall flavor.
– Try different coatings: Roll your pumpkin pie balls in crushed nuts or sprinkles instead of crumbled pie crust for added texture.
– Make mini versions: Roll smaller balls for bite-sized treats that are perfect for snacking!
How to Make No-Bake Pumpkin Pie Balls
Step 1: Prepare Your Ingredients
Begin by reserving some of the pie crust from your pumpkin pie. This will be used later as a tasty topping for your coated pie balls. Breaking down the filling and crust into manageable pieces is essential so that everything can mix together smoothly.
Step 2: Mix the Filling
Break up the chilled pumpkin pie (both filling and crust) into the bowl of an electric mixer. Beat on low speed until it combines into a moist ball. If you prefer, you can also do this step by mixing with your hands in a large bowl. The goal is to create a cohesive mixture that holds together well when rolled into balls.
Step 3: Form the Balls
Using about 2 tablespoons of the mixture at a time, roll it into balls and place them on a parchment-lined baking sheet. Once you’ve shaped all your balls, pop them in the freezer for 30 minutes or refrigerate them for about 2 hours. Chilling helps them firm up so they hold their shape during coating.
Step 4: Coat with Candy Coating
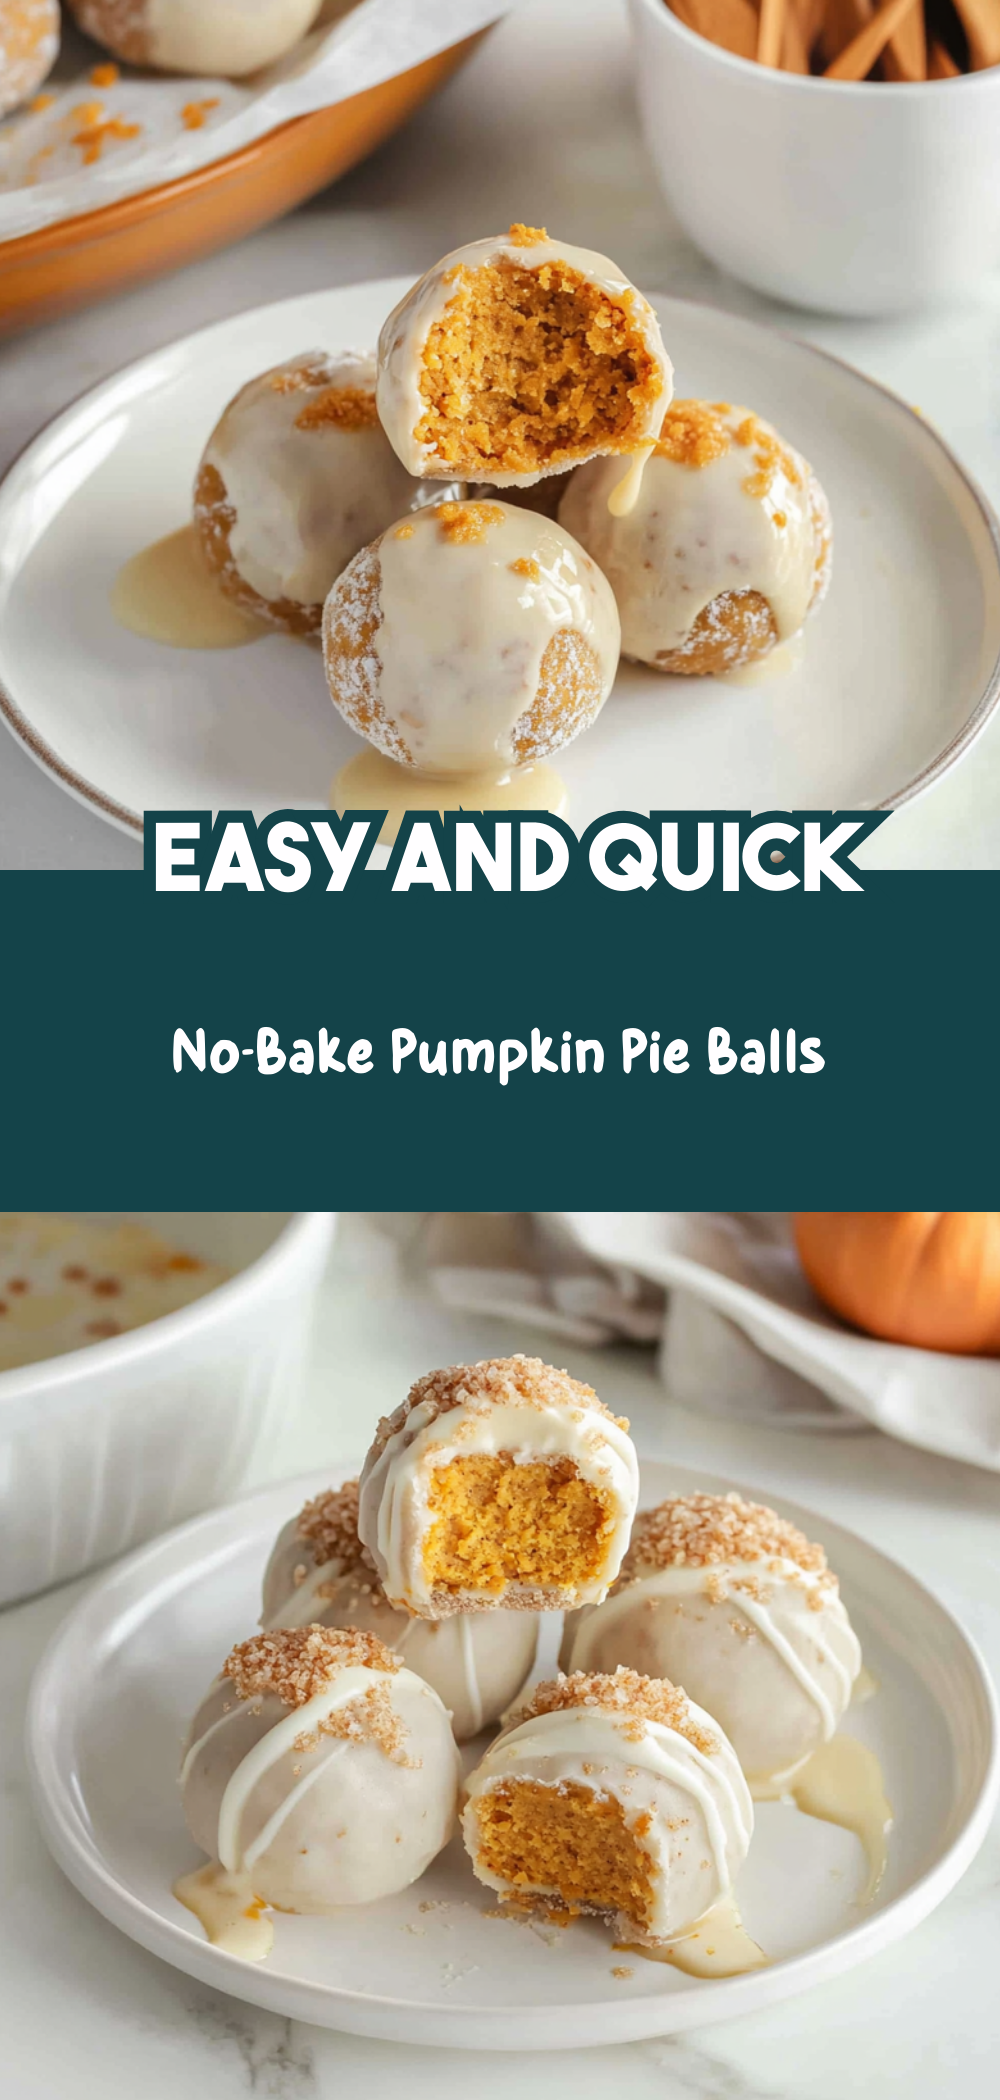
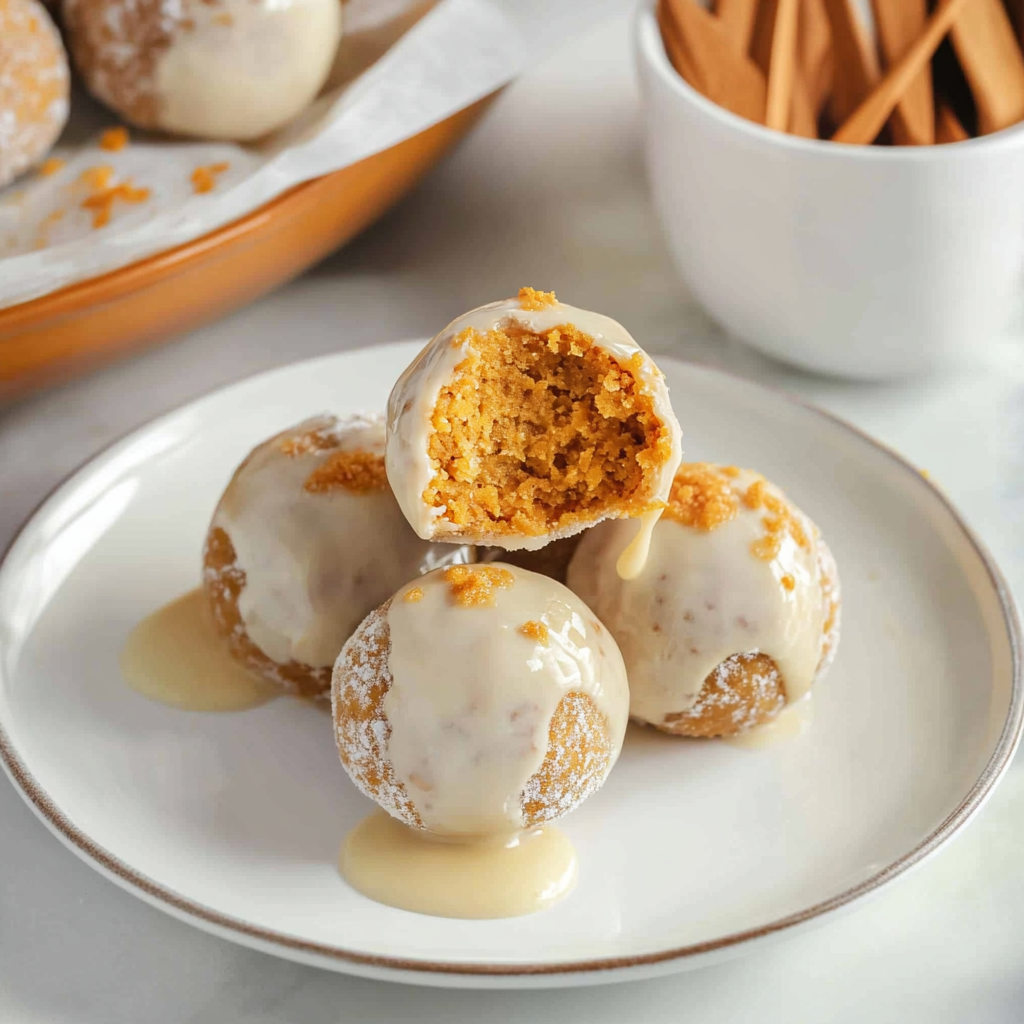
Melt the vanilla candy coating according to package directions in a shallow bowl. Dip each chilled pie ball one at a time into the melted coating, using a fork to turn it until fully coated. Allow any excess coating to drip back into the bowl before transferring it back onto the parchment-lined baking sheet. Immediately sprinkle some of your reserved pie crust crumbles on top for added texture and flavor.
Step 5: Set and Enjoy!
Let your coated pumpkin pie balls rest at room temperature until the candy coating has completely set. This ensures they stay beautifully intact when served! Once ready, dig in and enjoy these delightful treats with friends and family!
Pro Tips for Making No-Bake Pumpkin Pie Balls
Making No-Bake Pumpkin Pie Balls is a delightful way to enjoy those leftover Thanksgiving treats. With a few simple tips, you can elevate your dessert game and ensure these bites of joy turn out perfectly.
– Use chilled pie: Ensure your pumpkin pie is well-chilled before starting. This makes it easier to blend and shape into balls.
– Roll evenly: When rolling the pie mixture into balls, try to keep them uniform in size for even coating and presentation.
– Don’t rush the chilling: Allowing the pie balls to chill properly in the freezer or refrigerator helps them hold their shape during coating.
– Experiment with coatings: While vanilla candy coating is fantastic, feel free to try dark chocolate or white chocolate for a twist on flavor.
– Keep everything clean: Use parchment paper for easy cleanup and to prevent the coated balls from sticking.
How to Serve No-Bake Pumpkin Pie Balls
Presentation can make all the difference when serving your No-Bake Pumpkin Pie Balls. These little delights are perfect for holiday gatherings, parties, or just a cozy night in. Here are some ideas on how to showcase them beautifully.
Garnishes
– Crushed nuts: Sprinkle crushed pecans or walnuts on top for added texture and flavor.
– Cinnamon dusting: A light dusting of cinnamon can enhance the festive feel of your dessert.
– Drizzle of chocolate: A drizzle of melted chocolate can add a touch of elegance and extra sweetness.
Side Dishes
– Whipped coconut cream: Serve alongside whipped coconut cream for a delightful contrast in flavors.
– Fresh fruit platter: A colorful assortment of fresh fruits can round out your dessert table beautifully.
– Hot apple cider: Pair these treats with warm apple cider for that perfect autumn experience.
– Vanilla ice cream: For those who want something extra, serve with a scoop of vegan vanilla ice cream.
Make Ahead and Storage
These No-Bake Pumpkin Pie Balls are perfect for meal prep and can be made ahead of time. Here’s how to store them effectively so you can enjoy them at your convenience.
Storing Leftovers
– Store in an airtight container: Place cooled pie balls in an airtight container lined with parchment paper between layers to prevent sticking.
– Refrigerate: They can be kept in the fridge for up to a week for optimal freshness.
Freezing
– Freeze before coating: If you plan to freeze them, it’s best to freeze the rolled pie balls before dipping them in candy coating.
– Store properly: Once coated, place them in a single layer on a baking sheet until set, then transfer to an airtight container or freezer bag. They will last up to three months.
Reheating
– Enjoy cold or at room temperature: These pie balls are best enjoyed chilled or at room temperature. There’s no need to reheat as they retain their deliciousness straight from the fridge!
FAQs
If you’re curious about making No-Bake Pumpkin Pie Balls or have questions about ingredients and storage, here are some common inquiries answered.
Can I use store-bought pumpkin pie?
Yes, using store-bought pumpkin pie is perfectly fine! Just ensure it’s chilled before you begin making the balls.
How do I make these gluten-free?
To make these gluten-free, simply choose a gluten-free pumpkin pie crust when buying or making your pie.
Can I substitute the candy coating?
Absolutely! You can use dark chocolate, white chocolate, or even dairy-free options if you prefer. Just melt according to package instructions.
Final Thoughts
I hope you’re inspired to try making these delightful No-Bake Pumpkin Pie Balls! They’re not only a fantastic way to repurpose leftover pie but also a sweet treat that everyone will love. Gather your ingredients, follow along with the recipe, and enjoy every bite of this pumpkin goodness!
No-Bake Pumpkin Pie Balls
Ingredients
Method
- Reserve some of the pie crust from your pumpkin pie for topping. Break down the filling and crust into manageable pieces.
- Break up the chilled pumpkin pie into the bowl of an electric mixer. Beat on low speed until it combines into a moist ball.
- Using about 2 tablespoons of the mixture, roll it into balls and place them on a parchment-lined baking sheet. Chill in the freezer for 30 minutes or refrigerate for 2 hours.
- Melt the vanilla candy coating according to package directions. Dip each chilled pie ball into the melted coating and sprinkle reserved pie crust crumbles on top.
- Let the coated pumpkin pie balls rest at room temperature until the candy coating has completely set.
Leave a Comment