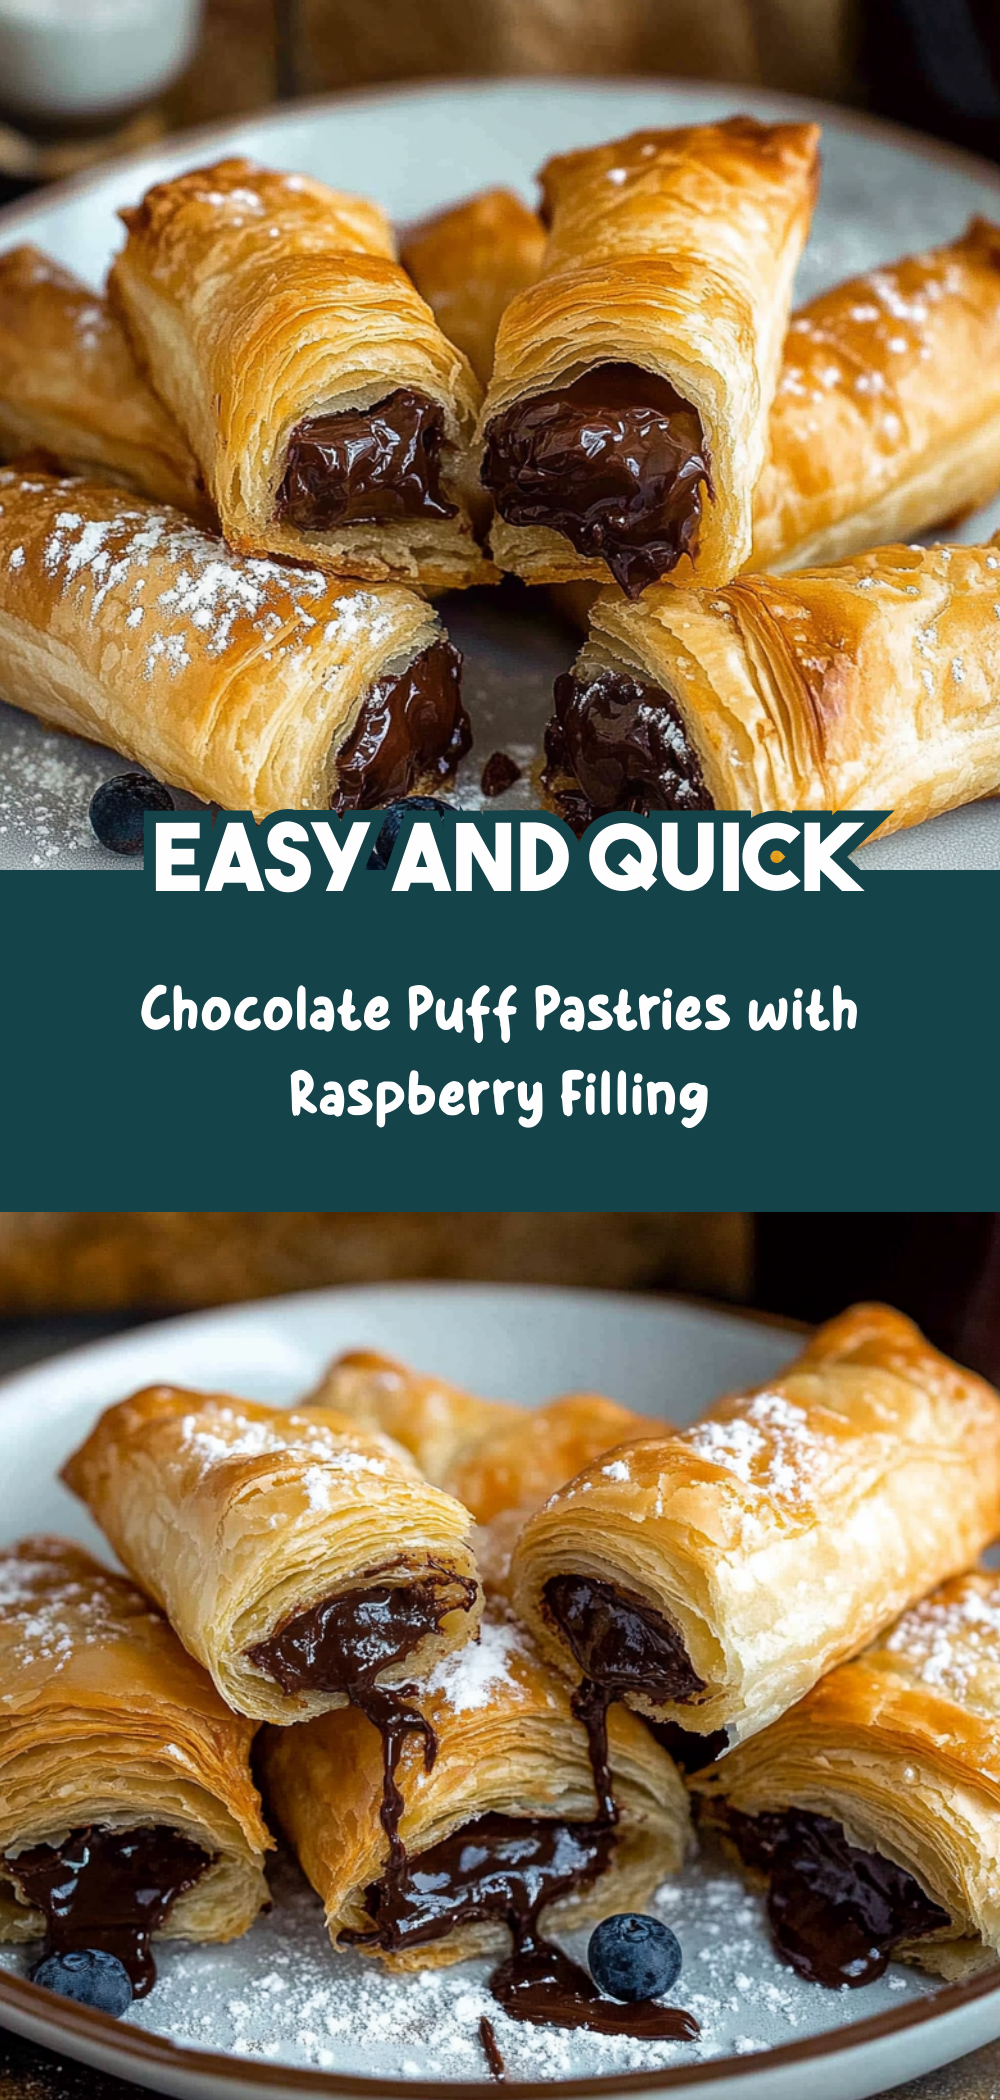
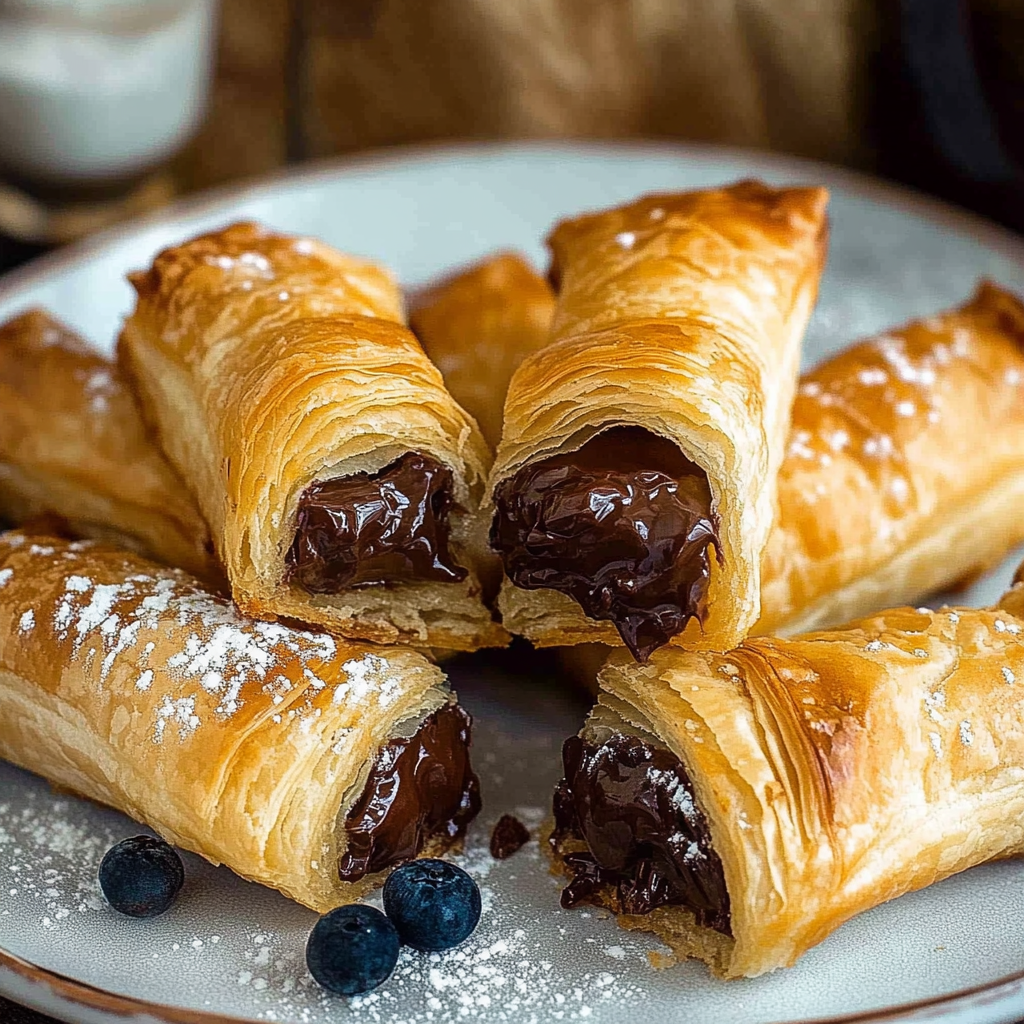
There’s something magical about the combination of flaky pastry and rich chocolate that brings a touch of joy to any occasion. Chocolate Puff Pastries are one of my go-to recipes when I need a quick yet impressive treat. With just three simple ingredients, these delightful pastries can easily transform breakfast, brunch, or dessert into something truly special. Whether you’re hosting a gathering or simply indulging in a cozy night at home, these pastries are sure to please everyone at the table.
I love how versatile Chocolate Puff Pastries are; they can be enjoyed fresh out of the oven or served alongside a scoop of ice cream for an extra indulgent dessert. Plus, they’re perfect for sharing—who wouldn’t want to bite into a warm, chocolate-filled puff pastry? Let’s dive into why you’ll love making these treats!
Why You’ll Love This Recipe
– Quick and easy: With only three ingredients and minimal prep time, you can whip up these pastries in no time.
– Perfectly flaky: The frozen puff pastry creates layers of crispiness that perfectly complement the melted chocolate inside.
– Customizable: You can easily adapt this recipe with different types of chocolate or fillings to suit your taste.
– Great for any occasion: Whether it’s breakfast, brunch, or dessert, these pastries fit right in.
– Crowd-pleaser: Everyone loves chocolate! These pastries are sure to delight family and friends alike.
Ingredients You’ll Need
Gathering your ingredients is part of the fun! Here’s what you’ll need to make your delicious Chocolate Puff Pastries.
For the Pastries
– 2 sheets frozen puff pastry
– 1 cup dark (semisweet) chocolate chips (or use your favorite chocolate)
– 1 tablespoon powdered (icing) sugar
Variations
One of the best things about Chocolate Puff Pastries is their flexibility! Here are some ideas to mix things up:
– Swap the chocolate: Use milk chocolate or white chocolate chips for a different flavor profile.
– Add some zest: Incorporate orange or lemon zest into the filling for a refreshing citrus twist.
– Try nutty goodness: Sprinkle in some chopped nuts like almonds or hazelnuts for added texture and flavor.
– Experiment with spices: A pinch of cinnamon or cayenne pepper can add an unexpected kick to your pastries.
How to Make Chocolate Puff Pastries
Making Chocolate Puff Pastries is easier than you might think! Follow these steps for perfect results every time.
Step 1: Thaw the Puff Pastry
Thaw the frozen puff pastry sheets according to the manufacturer’s instructions. This step is crucial as it allows the dough to become pliable and easy to work with, ensuring those beautiful layers we love in puff pastry.
Step 2: Preheat the Oven
Preheat your oven to 400ºF/200ºC and line a baking sheet with non-stick parchment paper. Preheating is essential for achieving that golden brown color and crispy texture that makes these pastries so irresistible.
Step 3: Cut the Pastry
Lay one sheet of thawed puff pastry on a cutting board and cut it into 6 rectangles, approximately 3 inches by 5 inches (8cm x 12.5 cm). Cutting uniform pieces ensures even baking and makes it easier to roll them up with the filling inside.
Step 4: Add Chocolate Chips
Scatter half of the chocolate chips over each piece of pastry. This is where all that deliciousness begins! Be generous but leave some space around the edges to prevent any overflow during baking.
Step 5: Roll Up Each Rectangle
Starting from the short end, roll up each rectangle tightly while capturing those lovely chocolate chips inside. Rolling them tightly helps maintain their shape during baking and keeps all that gooey goodness contained.
Step 6: Repeat with Remaining Ingredients
Repeat this process with the remaining pastry and chocolate chips until you have rolled up all your pieces. It’s fun to see how quickly they come together!
Step 7: Arrange on Baking Sheet
Arrange the rolled pastries on your prepared baking sheet seam-side down. This positioning helps them hold their shape while baking.
Step 8: Bake Until Golden Brown
Bake for about 20 minutes until golden brown and crispy. Keep an eye on them towards the end; you want them perfectly baked without burning!
Step 9: Cool on Wire Rack
Once baked, transfer them to a wire rack to cool completely. This step prevents sogginess by allowing air circulation around them as they cool down.
Step 10: Add Powdered Sugar Before Serving
Finally, sieve powdered sugar over your pastries just before serving for an elegant touch. It adds sweetness without overwhelming flavors, making each bite even more delightful!
And there you have it—your very own batch of Chocolate Puff Pastries ready to impress! Enjoy every flaky bite filled with rich chocolatey goodness.
Pro Tips for Making Chocolate Puff Pastries
Making chocolate puff pastries is a delightful experience, and with a few helpful tips, you can ensure they turn out perfectly each time. Here are some actionable suggestions to elevate your baking game.
– Use cold ingredients: Ensure that your puff pastry remains cold while you work with it. This helps achieve that flaky texture we all love.
– Don’t overfill: While it’s tempting to add more chocolate, overfilling can cause the pastries to burst open during baking. Stick to the recommended amount for best results.
– Keep an eye on baking time: Ovens can vary in temperature. Start checking your pastries a few minutes before the suggested baking time to avoid over-baking.
– Allow cooling time: Letting the pastries cool on a wire rack allows air to circulate, keeping them crispy rather than soggy.
– Experiment with chocolate types: Feel free to mix different types of chocolate chips or even add nuts or fruit for an exciting twist.
How to Serve Chocolate Puff Pastries
Serving chocolate puff pastries is all about presentation and creating a delightful experience for your guests. Here are some ideas to make your pastries shine.
Garnishes
– Fresh berries: A handful of strawberries or raspberries adds a pop of color and freshness.
– Mint leaves: A few sprigs of fresh mint can enhance the visual appeal and provide a refreshing taste contrast.
– Drizzle of melted chocolate: For chocolate lovers, drizzling extra melted chocolate on top can be an indulgent touch.
Side Dishes
– Fresh fruit salad: A light, fruity salad pairs beautifully with sweet pastries.
– Whipped coconut cream: This dairy-free cream adds a luscious element that complements the richness of the pastries.
– Coffee or tea: Serve with a warm beverage for a cozy breakfast or brunch experience.
– Ice cream: A scoop of vanilla or coconut ice cream makes for an excellent dessert pairing.
Make Ahead and Storage
Meal prep can save you time and allow you to enjoy these treats at your convenience. Here’s how you can store your chocolate puff pastries properly.
Storing Leftovers
– Place cooled pastries in an airtight container at room temperature for up to 3 days.
– If you want to keep them longer, consider refrigerating them; they’ll last about a week but may lose some crispiness.
Freezing
– Freeze unbaked pastries by arranging them on a baking sheet lined with parchment paper. Once frozen solid, transfer them to a freezer-safe bag and store for up to 2 months.
– Alternatively, you can freeze baked pastries in an airtight container for up to one month.
Reheating
– To reheat baked pastries, preheat your oven to 350ºF (175ºC) and warm them for about 10 minutes until they are heated through and regain their crispiness.
– For frozen unbaked pastries, bake directly from the freezer, adding an extra 5 minutes to the bake time.
FAQs
If you’re curious about making these delicious treats or have specific questions in mind, here are some common inquiries answered.
Can I use store-bought puff pastry?
Yes, store-bought puff pastry is perfect for this recipe! Just make sure it’s thawed before using it.
What type of chocolate works best?
Dark semisweet chocolate chips are recommended for their rich flavor, but feel free to use milk or white chocolate according to your preference.
Can I add other fillings?
Absolutely! You can experiment with different fillings like nut butter, fruits, or even flavored spreads as long as they complement the chocolate.
How do I know when my pastries are done?
Look for golden brown color and crispiness. The aroma will also be heavenly when they’re close to being done!
Final Thoughts
I hope you’re inspired to try making these delightful chocolate puff pastries! They’re not just easy but also incredibly versatile. Whether you’re serving them at breakfast, brunch, or as an indulgent snack, you’re sure to impress your friends and family. Happy baking!
Chocolate Puff Pastries
Ingredients
Method
- Thaw the frozen puff pastry sheets according to the manufacturer's instructions.
- Preheat your oven to 400ºF/200ºC and line a baking sheet with non-stick parchment paper.
- Lay one sheet of thawed puff pastry on a cutting board and cut it into 6 rectangles, approximately 3 inches by 5 inches.
- Scatter half of the chocolate chips over each piece of pastry.
- Starting from the short end, roll up each rectangle tightly while capturing the chocolate chips inside.
- Repeat this process with the remaining pastry and chocolate chips.
- Arrange the rolled pastries on your prepared baking sheet seam-side down.
- Bake for about 20 minutes until golden brown and crispy.
- Once baked, transfer them to a wire rack to cool completely.
- Sieve powdered sugar over your pastries just before serving.
Leave a Comment