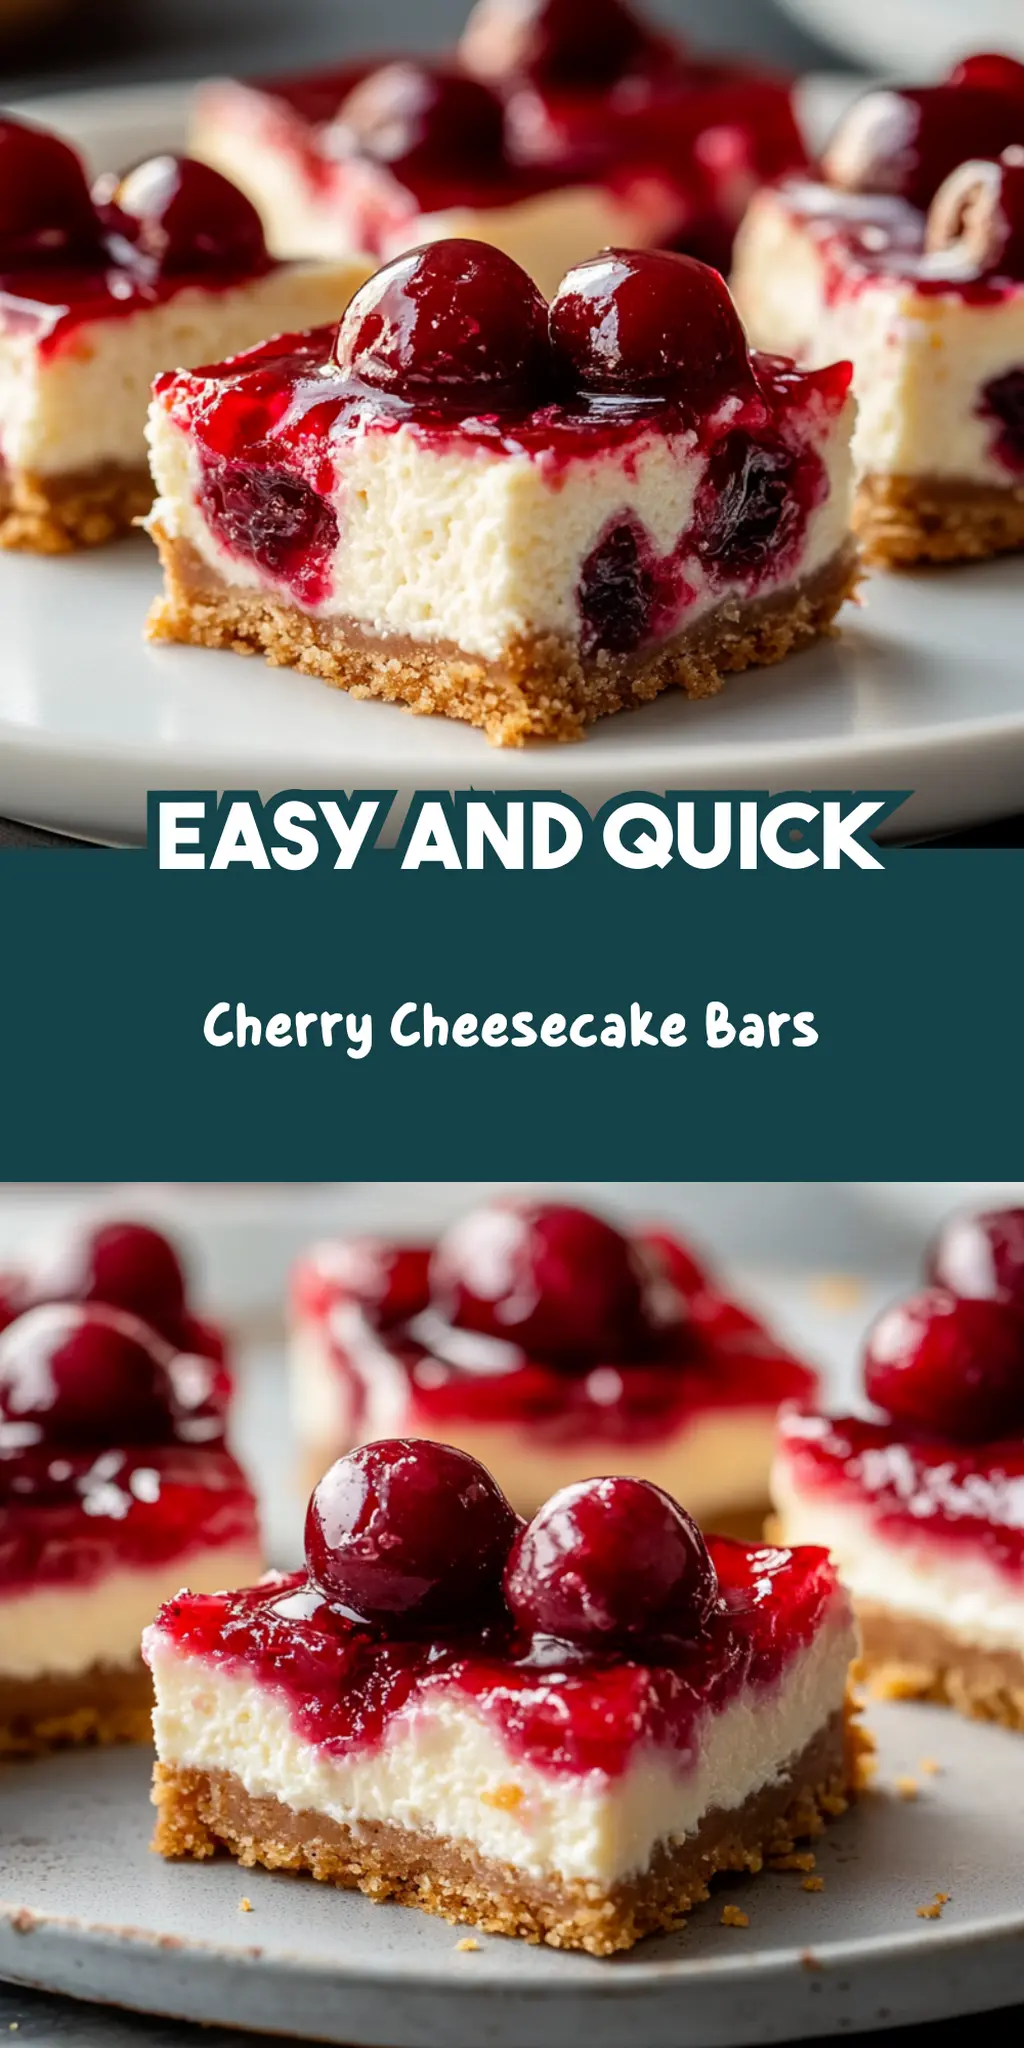
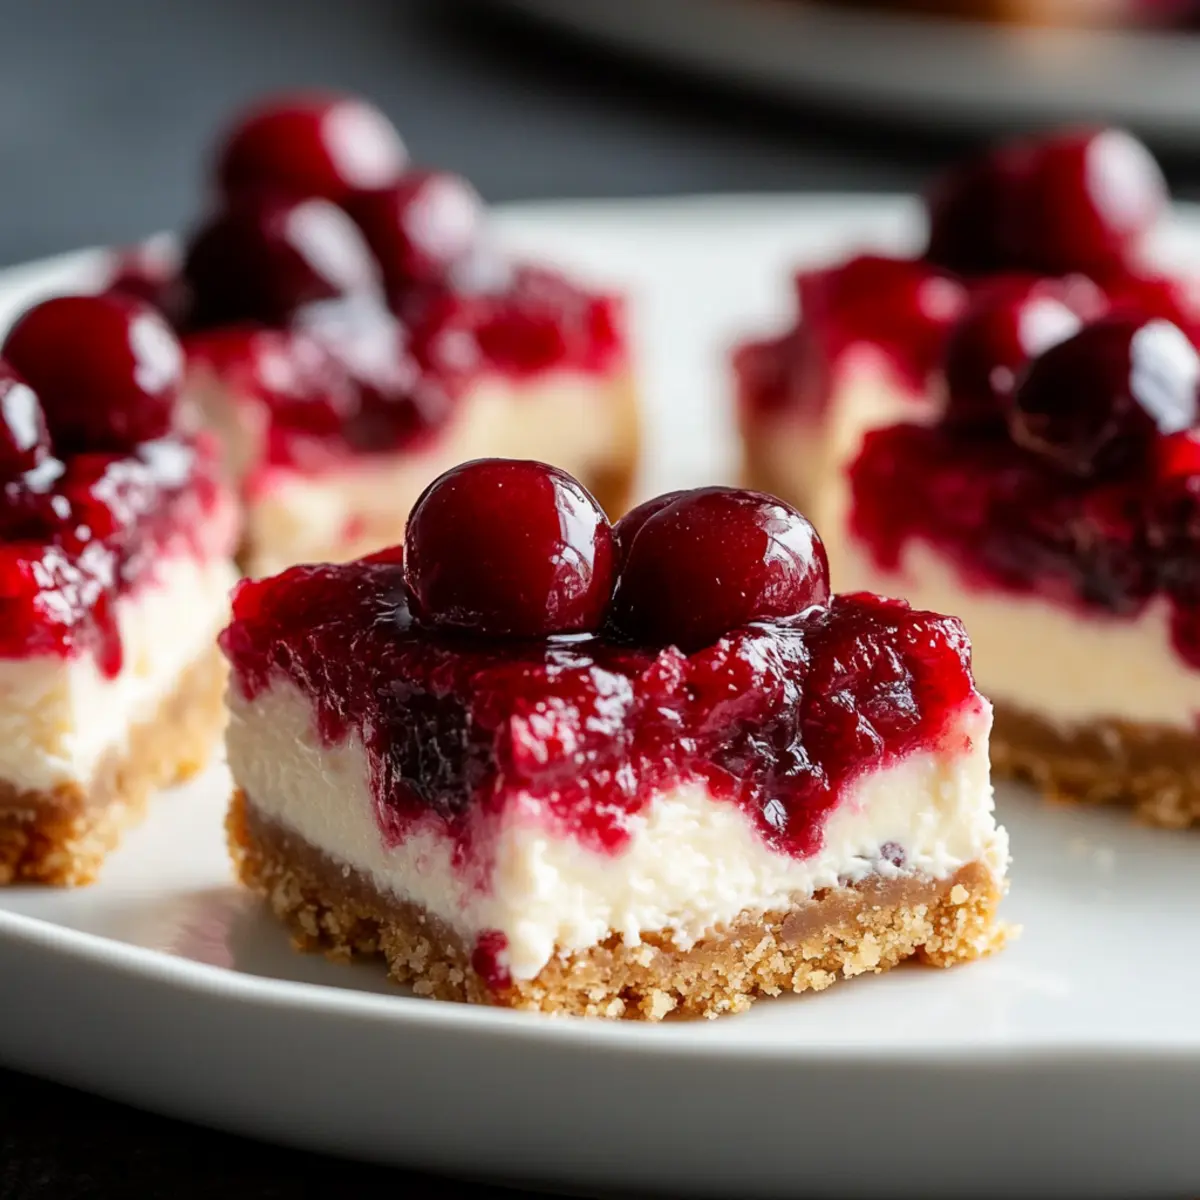
Cherry Cheesecake Bars are the ultimate treat that combines creamy cheesecake with a tangy burst of cherry goodness, all perfectly encased in a buttery, crumbly crust. If you’ve ever savored the moment when dessert is the highlight of your meal, then this delightful recipe is about to elevate your dining experience to a whole new level of deliciousness.
Imagine sinking your fork into a soft, velvety cheesecake layer topped with bright red cherry pie filling that glistens like a treasure waiting to be discovered. Each bite is a happy journey of flavors that hint at summer picnics and backyard celebrations. Whether you’re entertaining guests, celebrating a special occasion, or simply indulging in a well-deserved treat, these Cherry Cheesecake Bars will make everyone feel like they are enjoying a slice of heaven.
Why You'll Love This Cherry Cheesecake Bars
- This incredible Cherry Cheesecake Bars transforms simple everyday ingredients into restaurant-quality flavors that will blow your mind completely.
- Foolproof recipe techniques guarantee perfect results every single time, making even novice cooks feel like professional chefs instantly.
- Stunning visual appeal with gorgeous colors and mouthwatering aromas creates the ultimate Instagram-worthy dish for any special occasion.
- Endlessly adaptable for different dietary needs while working beautifully for meal prep, date nights, or entertaining large groups effortlessly.
Ingredients for Cherry Cheesecake Bars
Here’s what you’ll need to make this delicious Cherry Cheesecake Bars:
2 cups graham cracker crumbs – The base for your crust; use finely crushed crumbs for a smoother texture.
1/2 cup granulated sugar – Sweetens both the crust and the cheesecake filling; adjust based on your taste preference.
1/2 cup melted butter – Brings richness and moisture to the crust; be sure it’s cooled slightly to prevent cooking the eggs in the filling.
16 oz cream cheese, softened – The star of the show; ensure it’s at room temperature for a smooth mixture.
2 large eggs – Helps bind the filling; use fresh eggs for best results.
1 teaspoon vanilla extract – Adds a warm vanilla flavor that elevates the cheesecake.
1/2 cup granulated sugar – Sweetens the filling; you can reduce this if you’re using sweeter toppings.
1 can cherry pie filling (21 oz) – Provides a quick and easy topping that bursts with flavor and color.
How to Make Cherry Cheesecake Bars
Follow these simple steps to prepare this delicious Cherry Cheesecake Bars:
Step 1: Preheat the Oven
Preheat your oven to 325°F (163°C). While that’s warming up, line a 9×13 inch baking pan with parchment paper for easy removal later.
Step 2: Prepare the Crust
In a medium bowl, mix the graham cracker crumbs, 1/2 cup of sugar, and melted butter thoroughly until well combined. Press this mixture evenly into the bottom of the prepared pan, creating a nice layer for your cheesecake to rest on. Bake the crust for 8–10 minutes until it’s lightly golden and fragrant.
Step 3: Cream the Cheese
In a large mixing bowl, beat the softened cream cheese with 1/2 cup of sugar using an electric mixer on medium speed until the mixture is smooth and creamy. This part is crucial because nobody wants a lumpy cheesecake. Just think about stirring up memories of grandma’s kitchen.
Step 4: Incorporate the Eggs
Add the eggs, one at a time, mixing gently after each addition until just combined. Finally, stir in the vanilla extract, making sure you scrape down the sides of the bowl for an even mix. It should look like fluffy clouds of goodness.
Step 5: Bake the Cheesecake Filling
Pour the cheesecake batter over the pre-baked crust, spreading it evenly. Bake the entire pan for 30–35 minutes or until the center is set and just slightly jiggly. This is the perfect time to do a happy dance, knowing dessert is on its way.
Step 6: Cool and Chill
Let the bars cool completely at room temperature. Patience is a virtue here! Once cooled, refrigerate for at least 3 hours, or preferably overnight. This chilling time allows the flavors to meld beautifully and the texture to firm up.
Step 7: Topping Delight
When you’re ready to serve, gently spread the cherry pie filling on top of your cooled cheesecake. Be generous! A cherry on top is not just a saying; it’s a necessity with these bars.
Slice with a clean knife, serve chilled, and watch as people’s faces light up with joy. These Cherry Cheesecake Bars are the perfect finish to any meal, or let’s be honest, a deserving snack just because you can! Enjoy every delightful bite.
You Must Know About Cherry Cheesecake Bars
- This showstopping Cherry Cheesecake Bars delivers restaurant-quality results using simple ingredients you probably already have at home.
- The perfect balance of textures and flavors creates an unforgettable dining experience that will have everyone asking for seconds.
- Picture-perfect presentation with vibrant colors makes this dish absolutely Instagram-worthy and guaranteed to impress any dinner guest.
- Incredibly versatile recipe that works beautifully for weeknight dinners, meal prep, special occasions, or even outdoor entertaining sessions.
Perfecting Cherry Cheesecake Bars Cooking Process
Begin by preheating your oven and preparing the crust. While it bakes, mix the cream cheese batter. Pour the filling over your crust once it’s ready. This sequence ensures that everything comes together smoothly and beautifully.
Add Your Touch to Cherry Cheesecake Bars
You can switch up the graham cracker crust with Oreo cookies for a chocolate twist, or add fresh lemon zest into the cream cheese mixture for some zippy brightness. Feel free to get creative with toppings too!
Storing & Reheating Cherry Cheesecake Bars
Store your Cherry Cheesecake Bars in an airtight container in the fridge for up to five days. If you need to reheat, warm them slightly in the microwave for a few seconds to keep that delectable creaminess intact.
Chef's Helpful Tips for Cherry Cheesecake Bars
- This professional-quality Cherry Cheesecake Bars relies on precise timing and temperature control to achieve restaurant-standard results consistently.
- Master the art of mise en place by prepping all ingredients beforehand, ensuring smooth execution and preventing any last-minute cooking disasters.
- The secret lies in layering flavors throughout the cooking process rather than seasoning only at the end for maximum depth.
- Pro tip: let the finished dish rest for optimal texture and flavor development before serving to hungry guests waiting eagerly.
The first time I made these Cherry Cheesecake Bars for a family gathering, I was amazed at how quickly they disappeared. Everyone raved about them, and my grandma even asked for the recipe!
FAQs About Cherry Cheesecake Bars
What is Cherry Cheesecake Bars?
Cherry Cheesecake Bars are a delightful dessert that combines a creamy cheesecake filling with a buttery graham cracker crust, topped with sweet cherry pie filling. These bars offer a deliciously balanced flavor profile, making them perfect for any occasion. Easy to make and visually appealing, they not only satisfy your sweet tooth but are an impressive treat to share at gatherings. This charming dessert is a favorite for both kids and adults alike due to its simple ingredients and delightful presentation.
How long do Cherry Cheesecake Bars need to chill?
Once baked, Cherry Cheesecake Bars should cool completely at room temperature before being refrigerated. Ideally, let them chill in the refrigerator for at least three hours or overnight for the best texture and flavor. Chilling allows the flavors to meld beautifully and helps the bars set properly. If you can resist, letting them sit overnight is highly recommended for a richer cheesecake experience.
Can I use fresh cherries instead of cherry pie filling in Cherry Cheesecake Bars?
Yes, fresh cherries can be used as a delightful alternative to canned cherry pie filling. Just be sure to pit and slice the cherries before adding them on top of the cheesecake layer. You might want to toss the cherries with a bit of sugar to enhance their sweetness and allow them to release some juices. This fresh take offers a lighter flavor profile and adds a beautiful, vibrant touch to your Cherry Cheesecake Bars.
How should I store my Cherry Cheesecake Bars?
Store your Cherry Cheesecake Bars in an airtight container in the refrigerator for up to five days. To maintain their fresh taste and creamy texture, avoid leaving them out at room temperature for extended periods. If you need to, you can freeze them for longer storage. Just ensure they’re well-wrapped in plastic wrap and then placed in a freezer-safe container, where they can last for up to two months.
Conclusion for Cherry Cheesecake Bars
In summary, Cherry Cheesecake Bars are an irresistible treat that combines the rich creaminess of cheesecake with the vibrant sweetness of cherry topping. This recipe is both simple and adaptable, making it perfect for any occasion. Whether you’re hosting a gathering or indulging yourself, these bars are sure to impress. Enjoy the delightful layers of flavor and texture, and don’t forget to share—they’re that good! With Cherry Cheesecake Bars, you’ll have everyone coming back for seconds.
Cherry Cheesecake Bars
Ingredients
Equipment
Method
- Preheat oven to 325°F (163°C) and line a 9×13 inch pan with parchment paper.
- Mix graham cracker crumbs, 1/2 cup sugar, and melted butter. Press into the pan to form the crust.
- Bake the crust for 8–10 minutes until lightly golden.
- Beat cream cheese and 1/2 cup sugar until smooth.
- Add eggs one at a time, mixing gently, then stir in vanilla.
- Pour cheesecake filling over the crust and spread evenly.
- Bake for 30–35 minutes or until the center is set.
- Let cool completely at room temperature, then refrigerate for 3 hours.
- Spread cherry pie filling on top before serving.
- Slice with a clean knife and serve chilled.
Leave a Comment